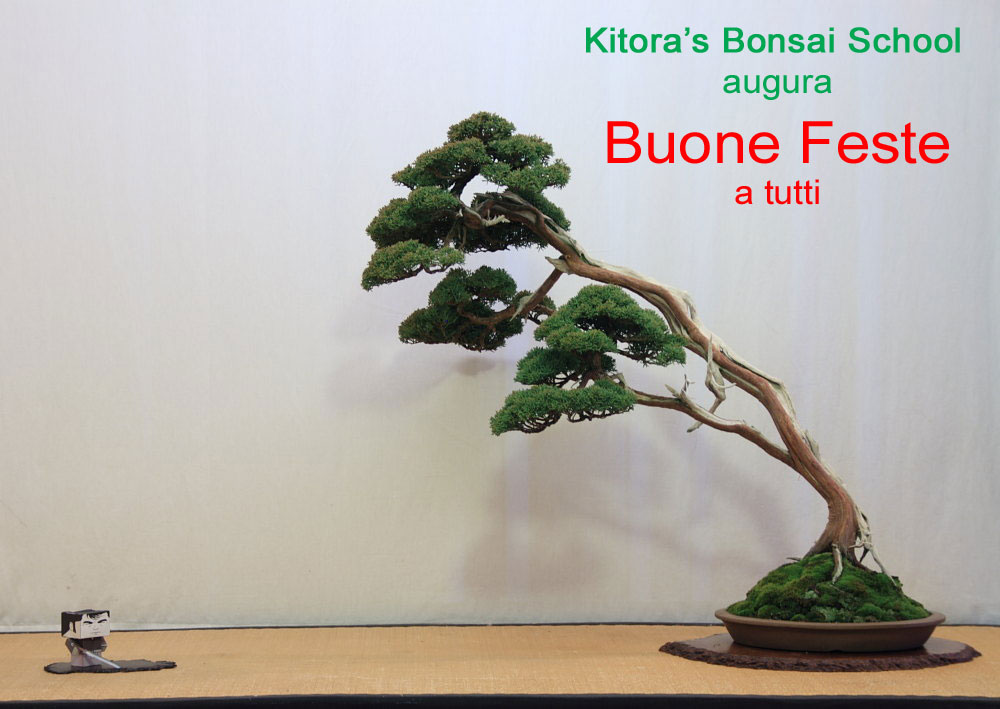
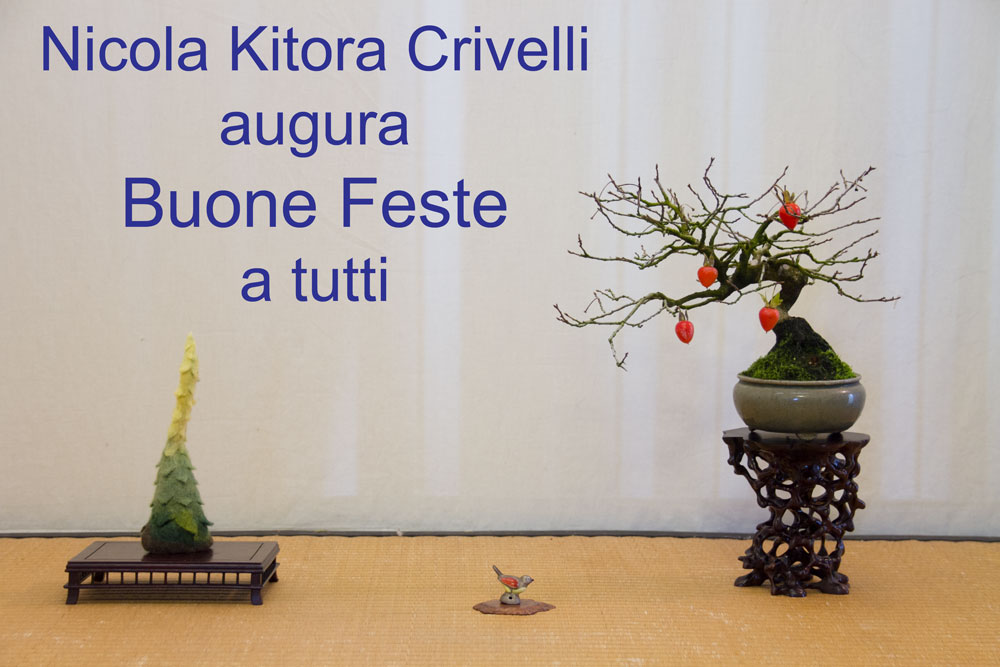
With all the best intentions for the 2014 and beyond.
Rispondi


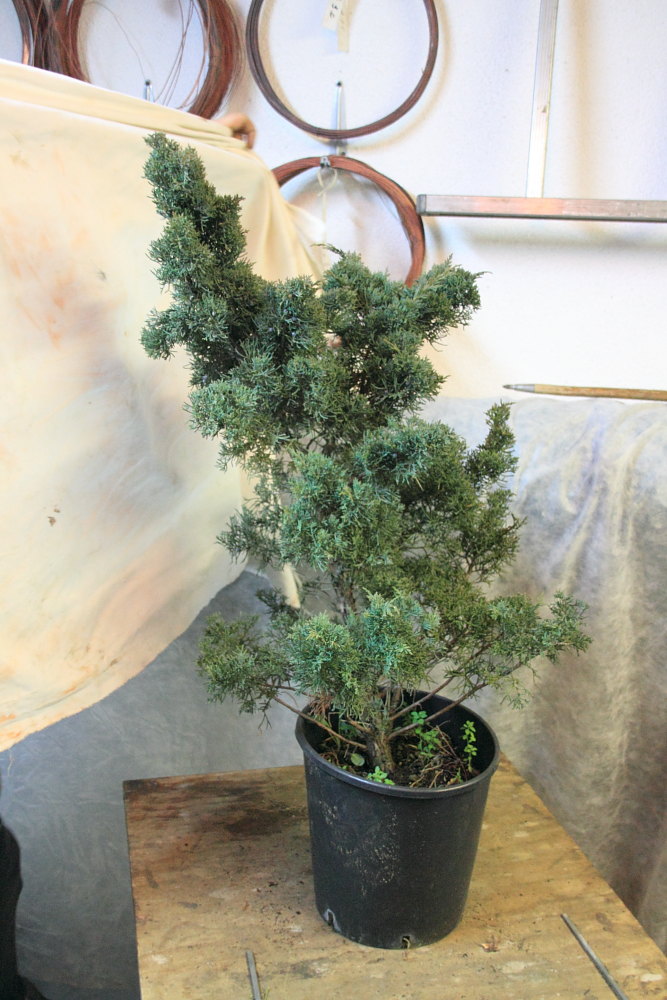
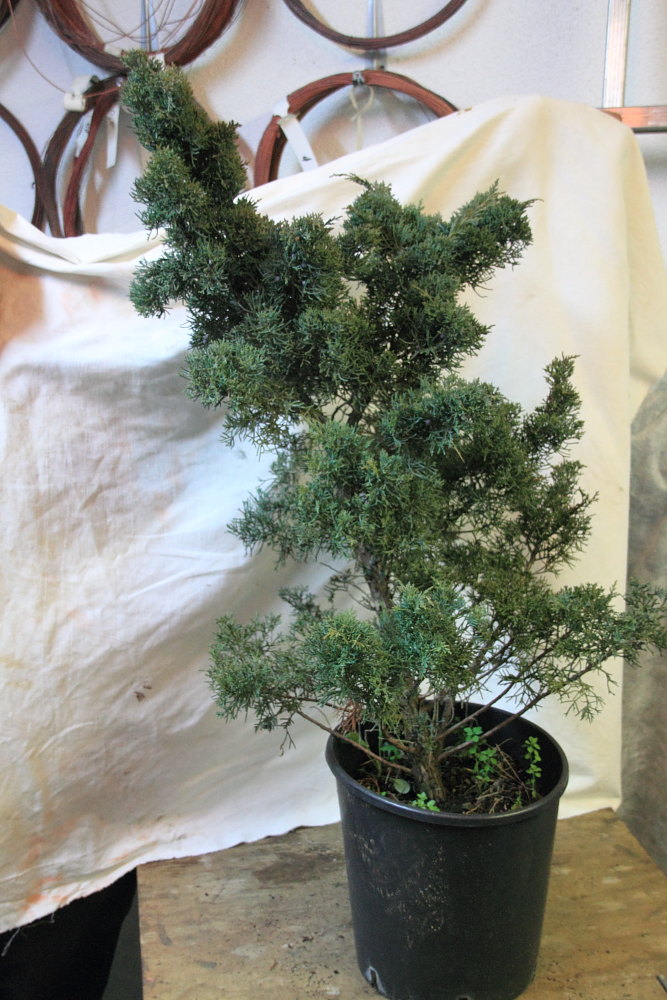
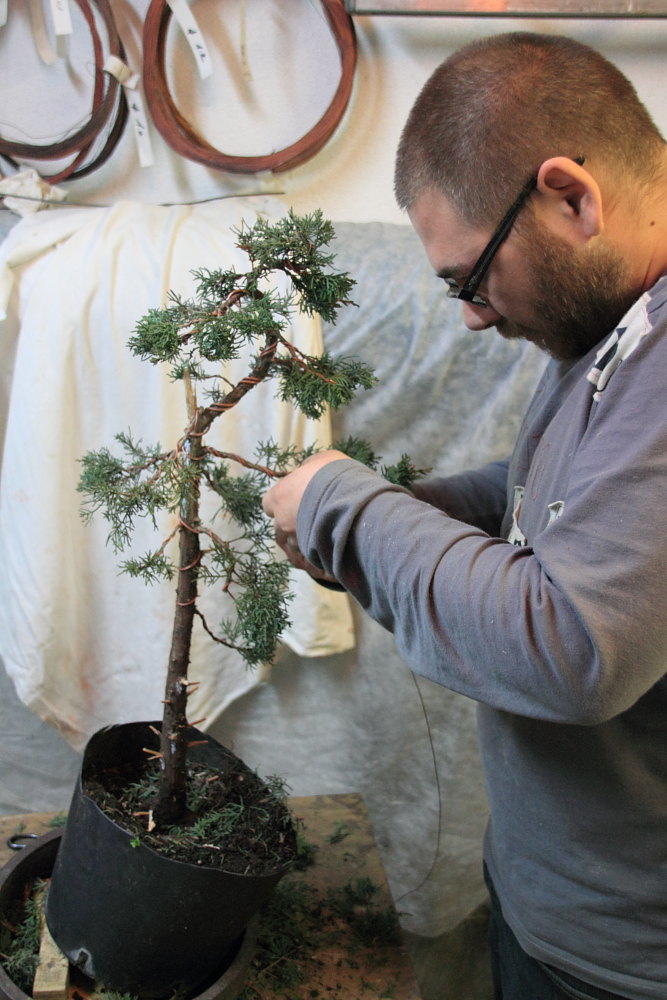
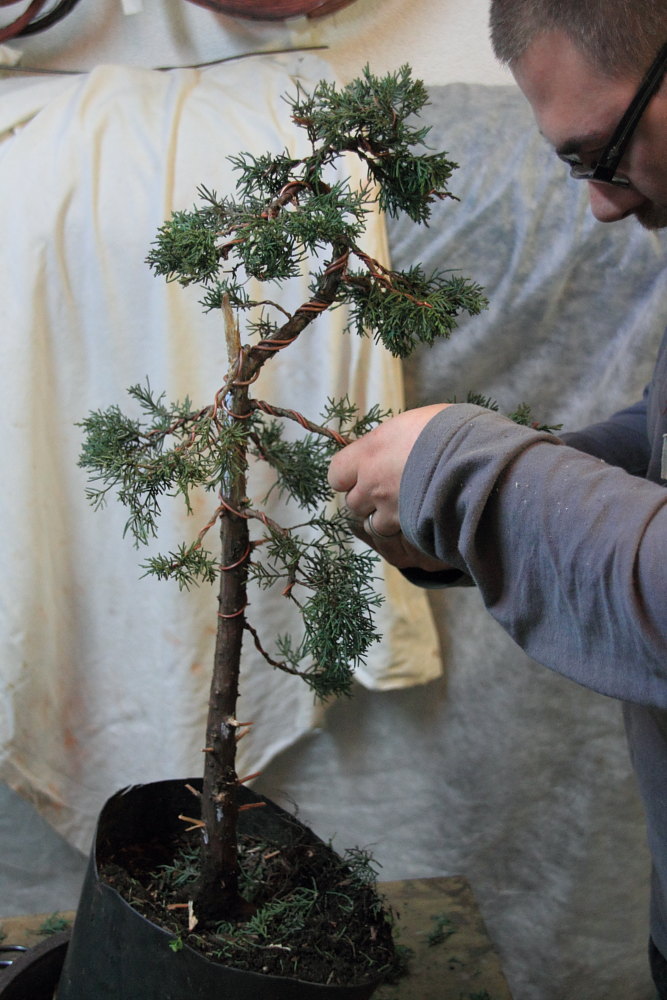

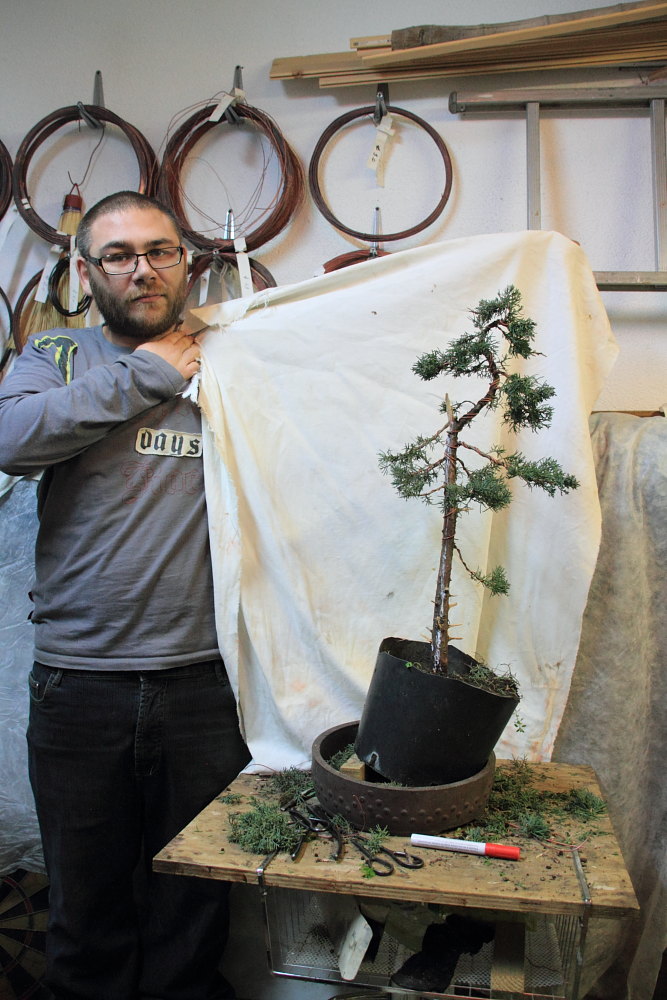
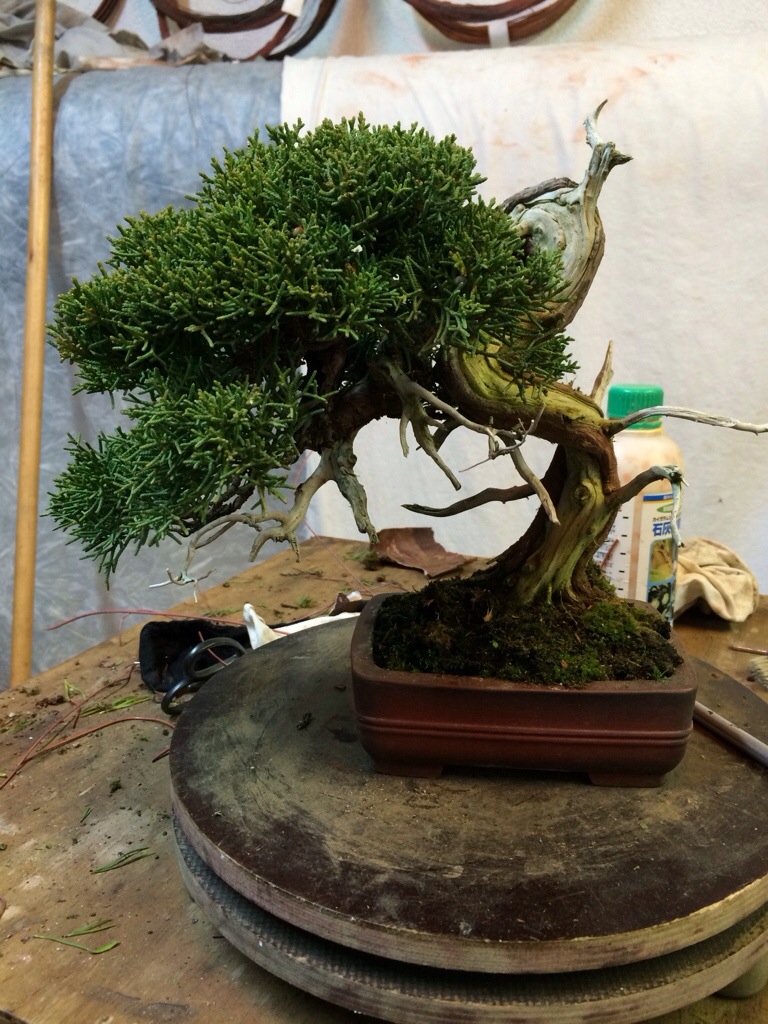
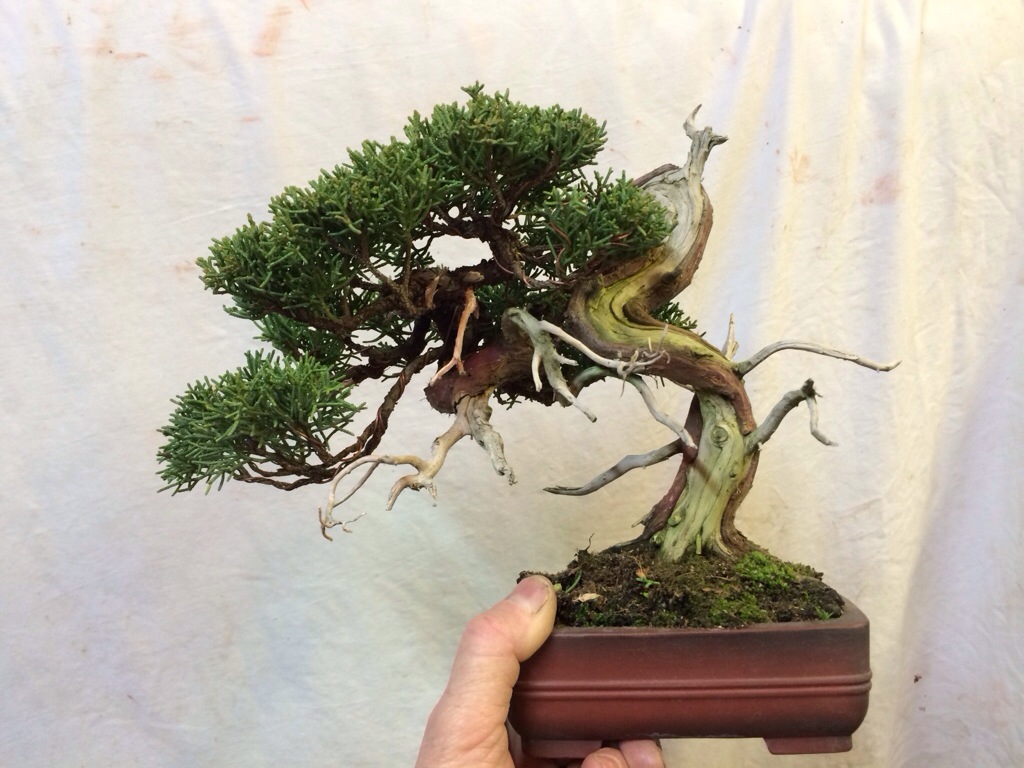
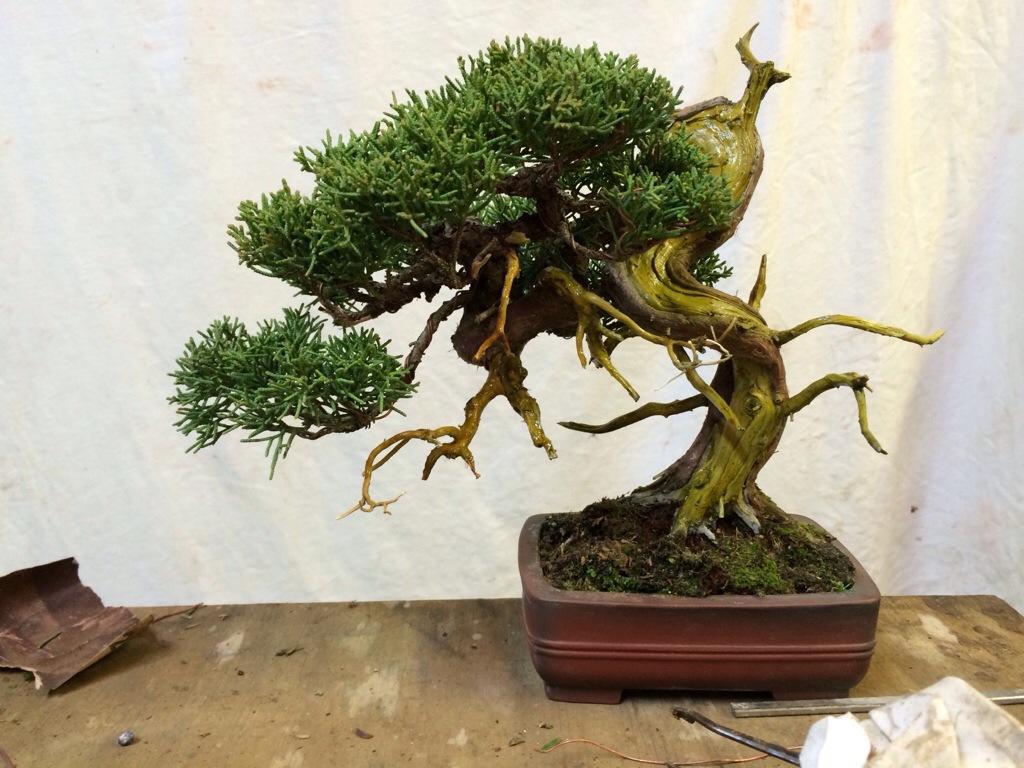
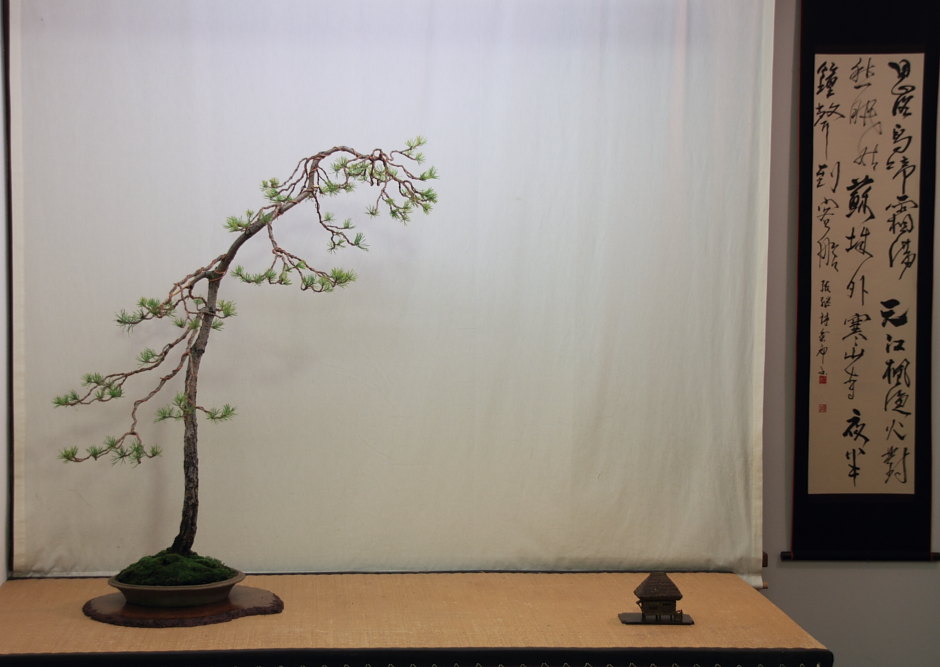
This last december I had the opportunity to have tree workshop by my teacher. The first one was on a pinus sylvestis (scots pine), the second on a juniperus chinensis (juniper) and the third was on a picea abies (spruce) owned by Nicola himself.
Normaly I have an idea about the first styling on my trees, but in this case it was a little weared because he purchased 2 trees at a local nursery on my request. Off course he send me some pictures to be sure I will be happy with the material, but I had no idea about the real potential and let’s face it, his the teacher, I had to be happy. Would you contradict your teacher?
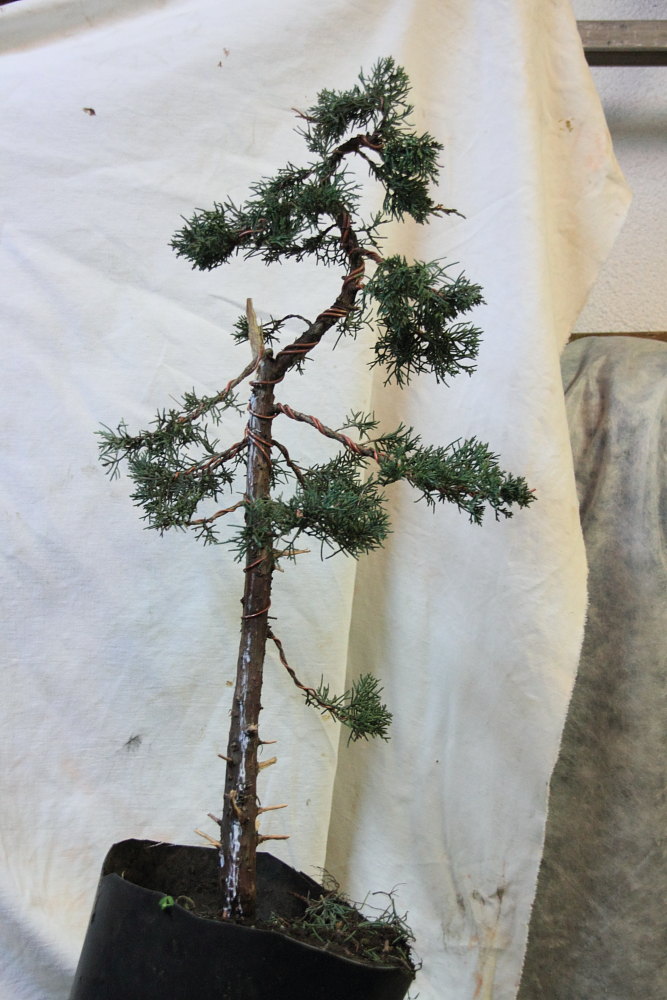
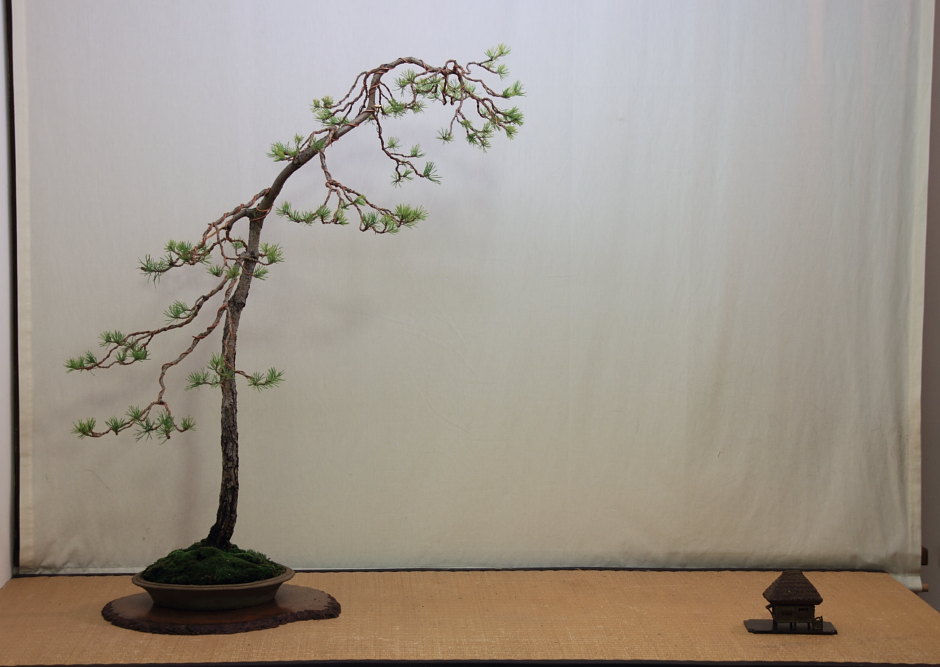
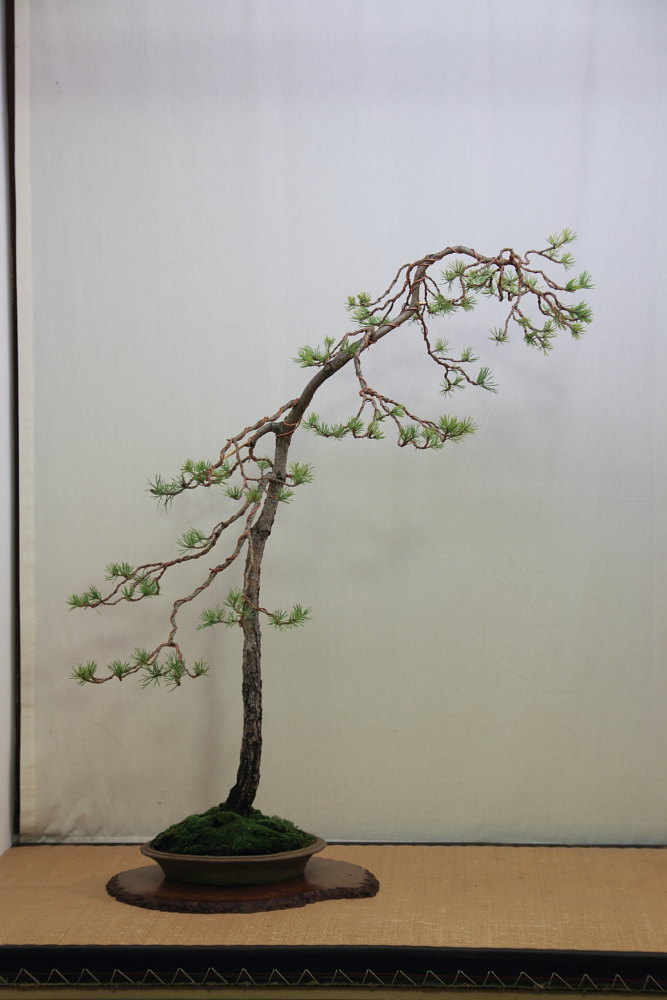
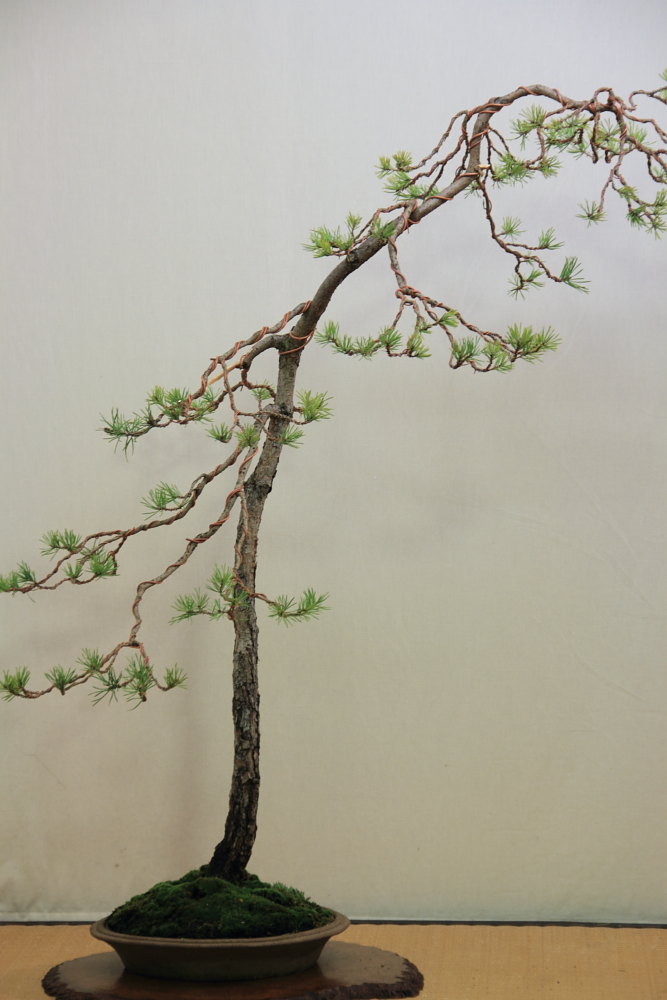
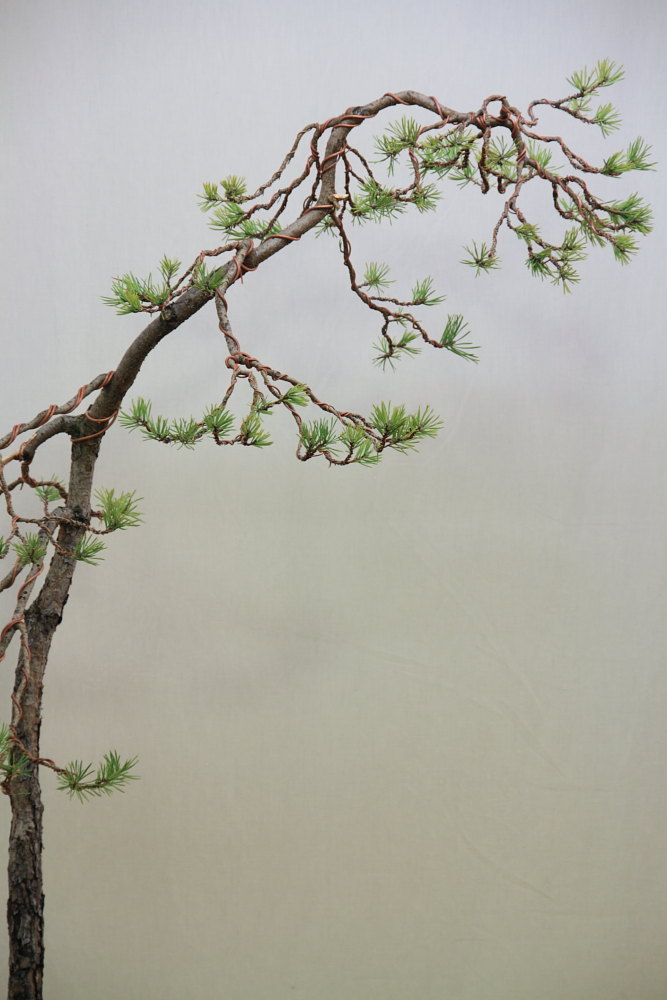
First: pinus sylvestris.
For me pines are the top of bonsai art and I consider them way to advanced for my knowledge at this moment, but I wanted a…
View original post 342 altre parole
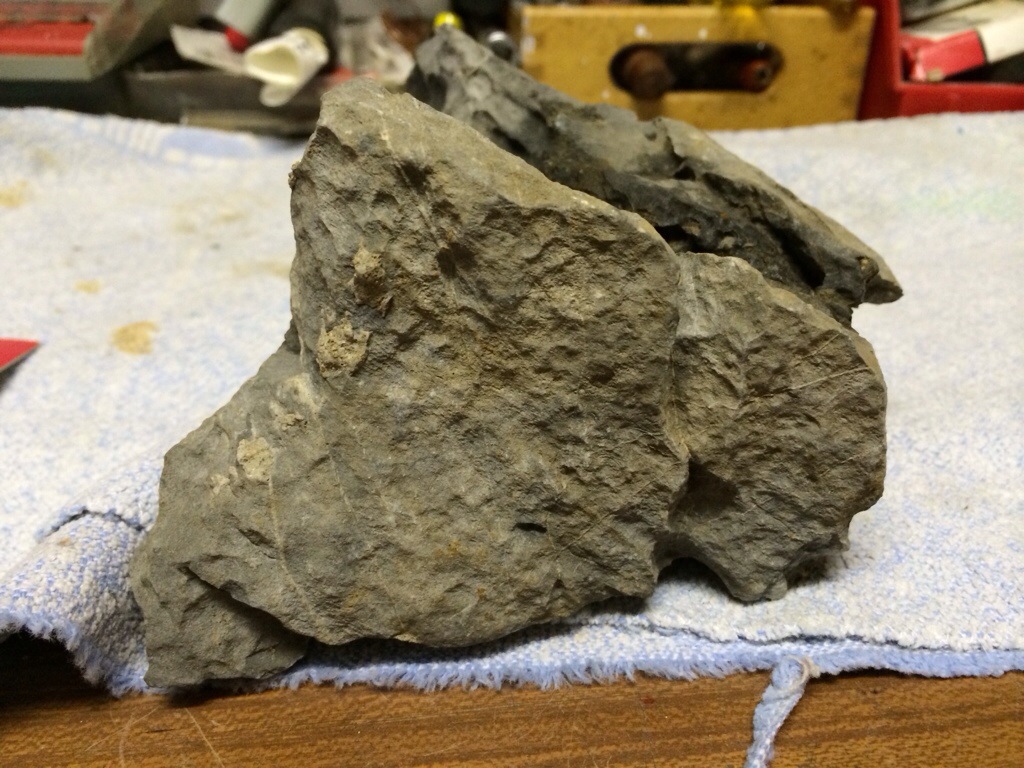
Una pietra irlandese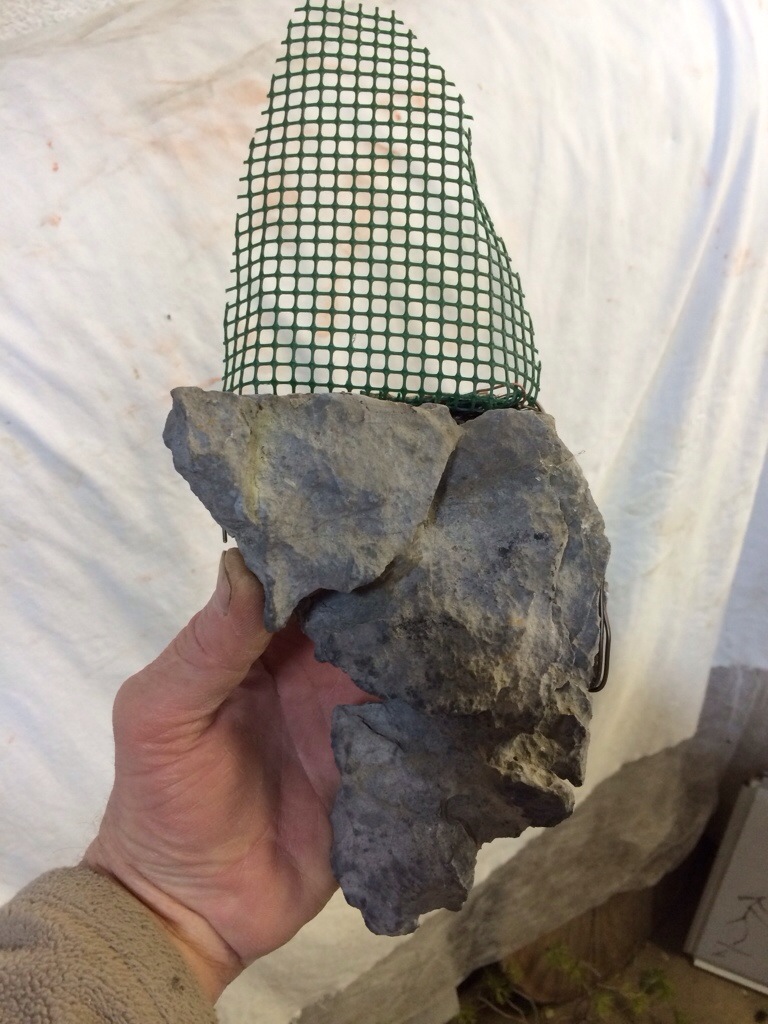
Creo un estensione della roccia nel punto meno interessante, la parte piatta.
Ho fissato la rete di plastica con una colla bi componenti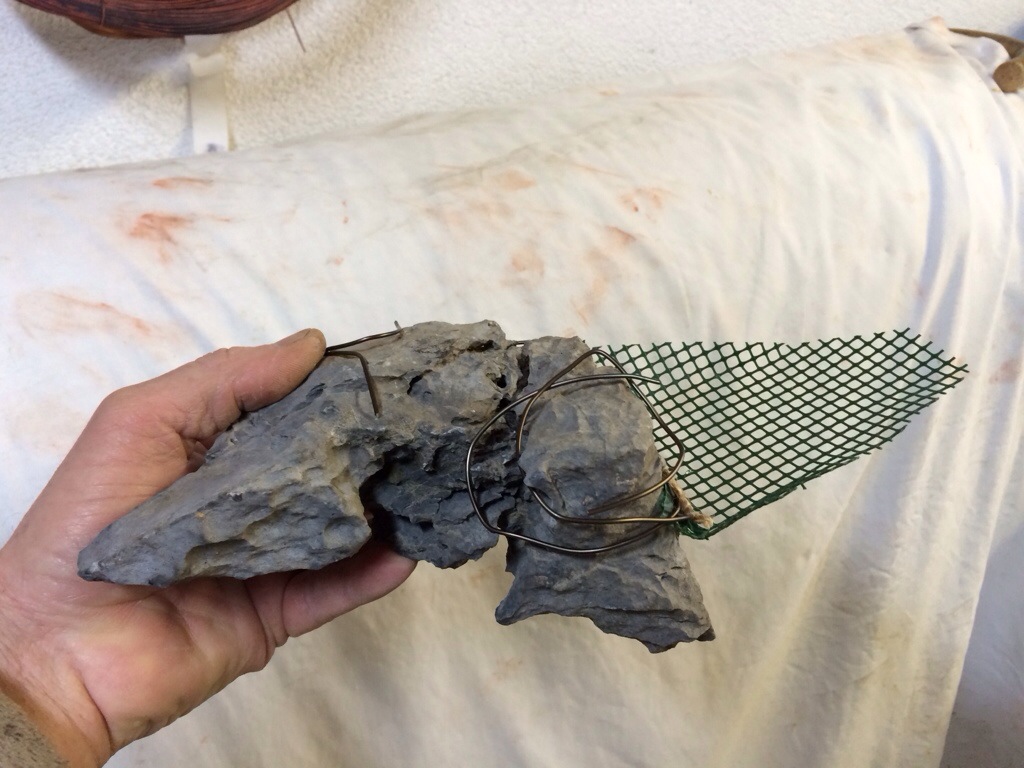
Sul lato destro fisserò il chojubai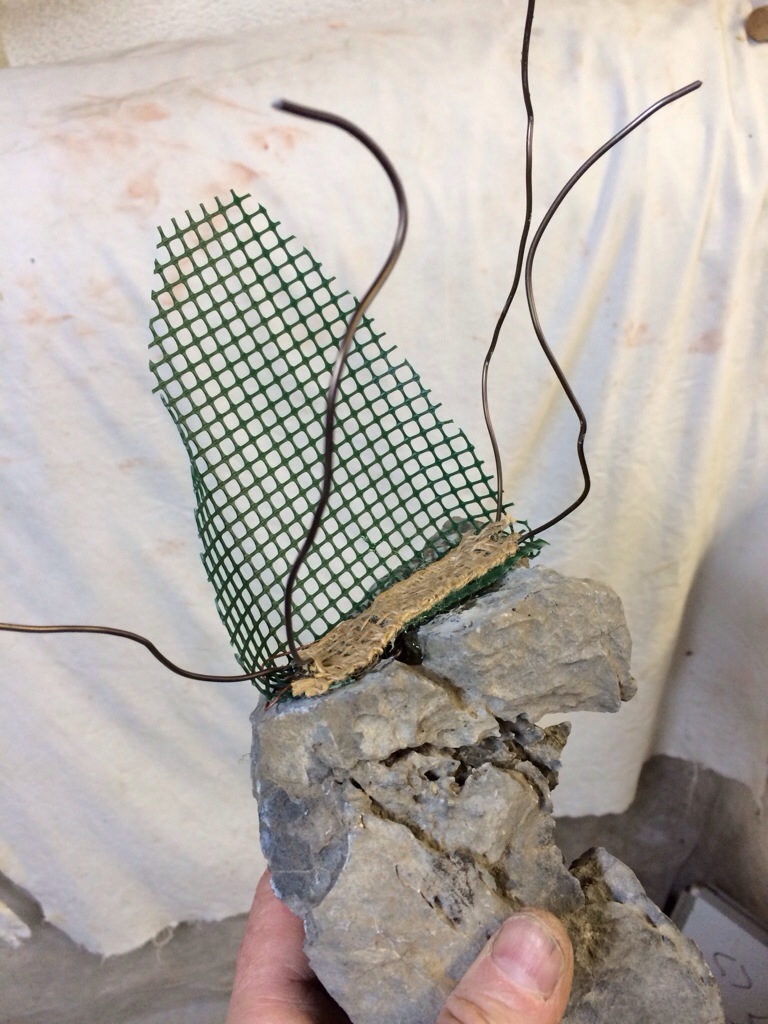
Ho incollato anche due fili d’ancoraggio.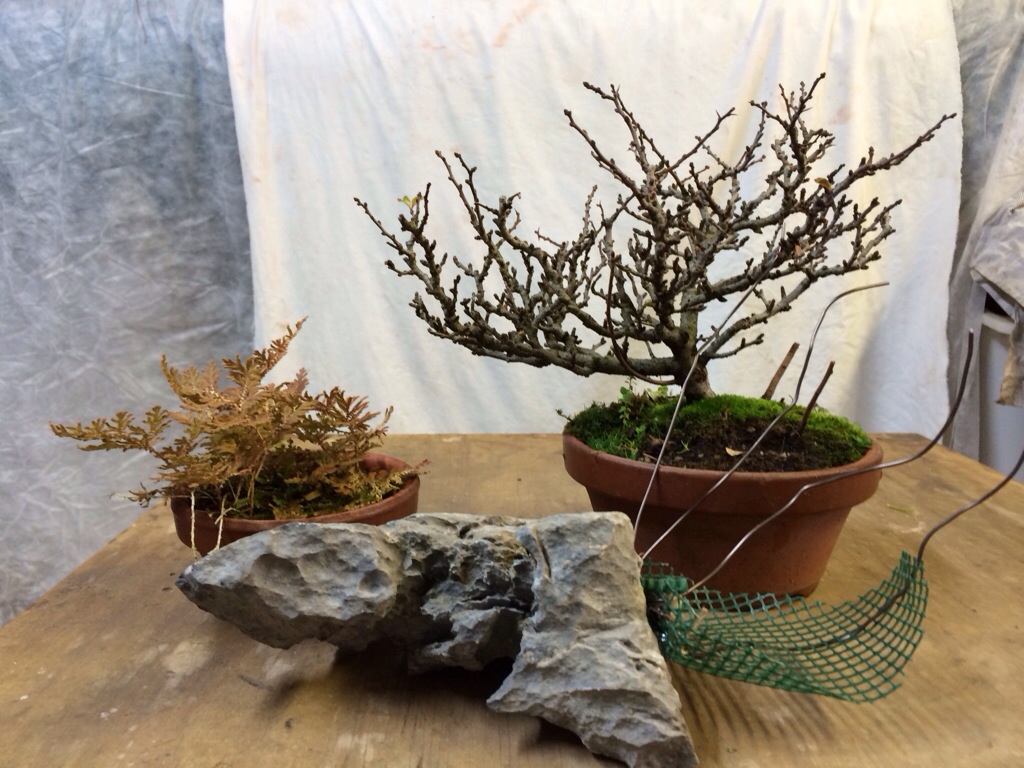
Una pietra
Un chojubai
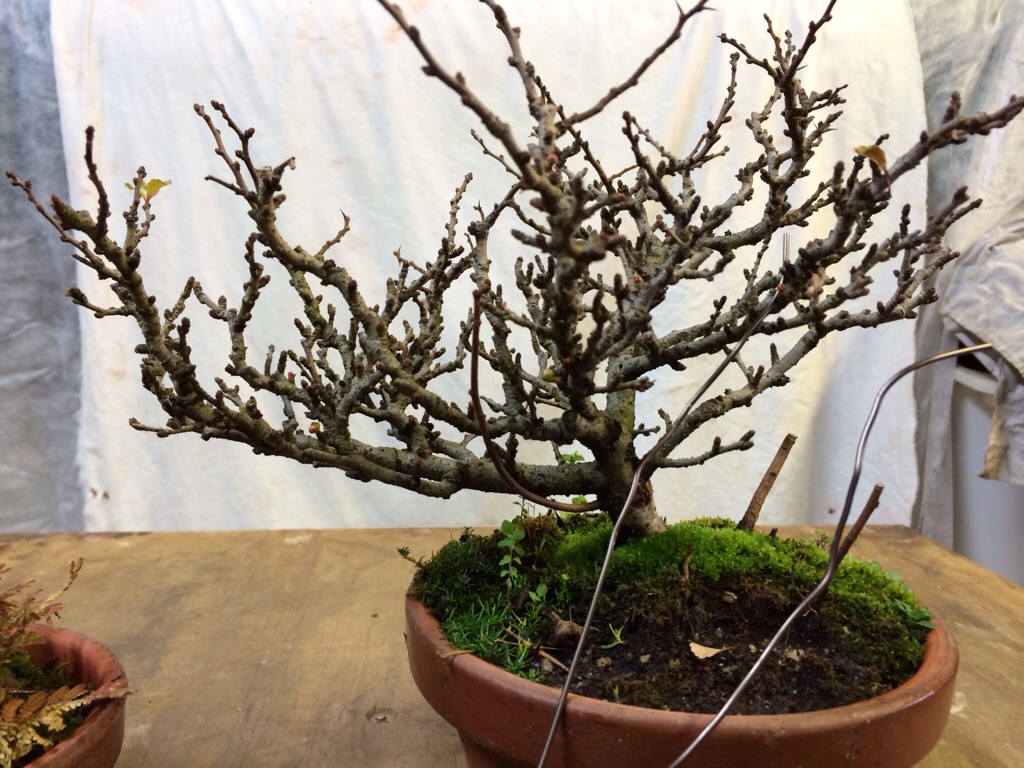
Il chojubai verrá fissato sulla roccia

Il lavoro ultimato, ho usato una tela di yuta per contenere il terriccio.
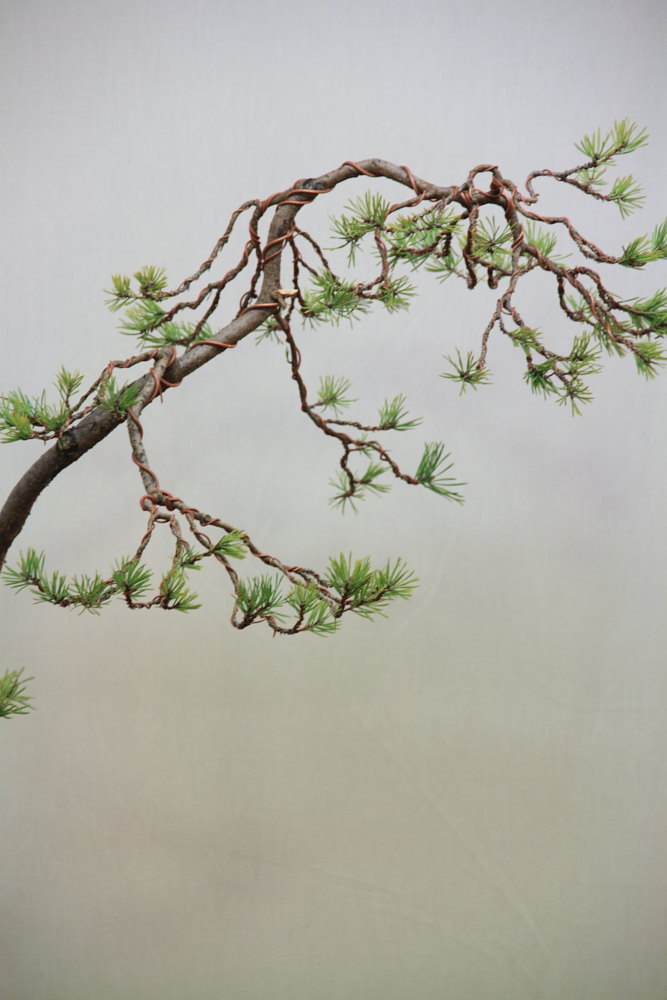
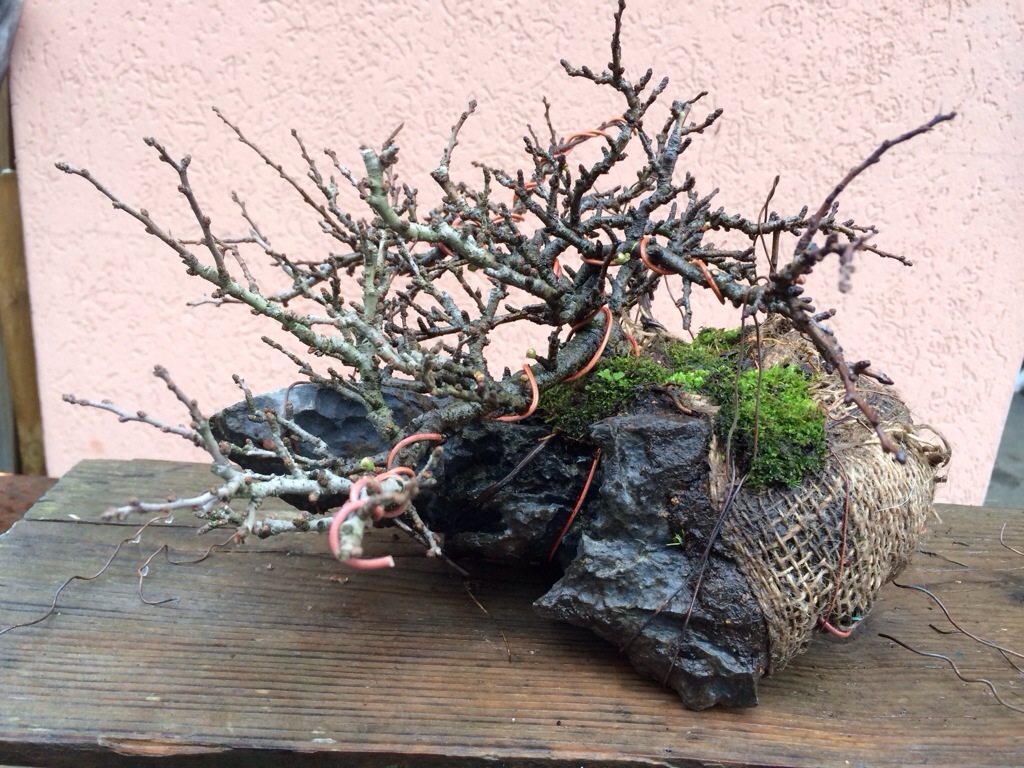 l’anno prossimo filerò i rami in modo che siano più ordinati
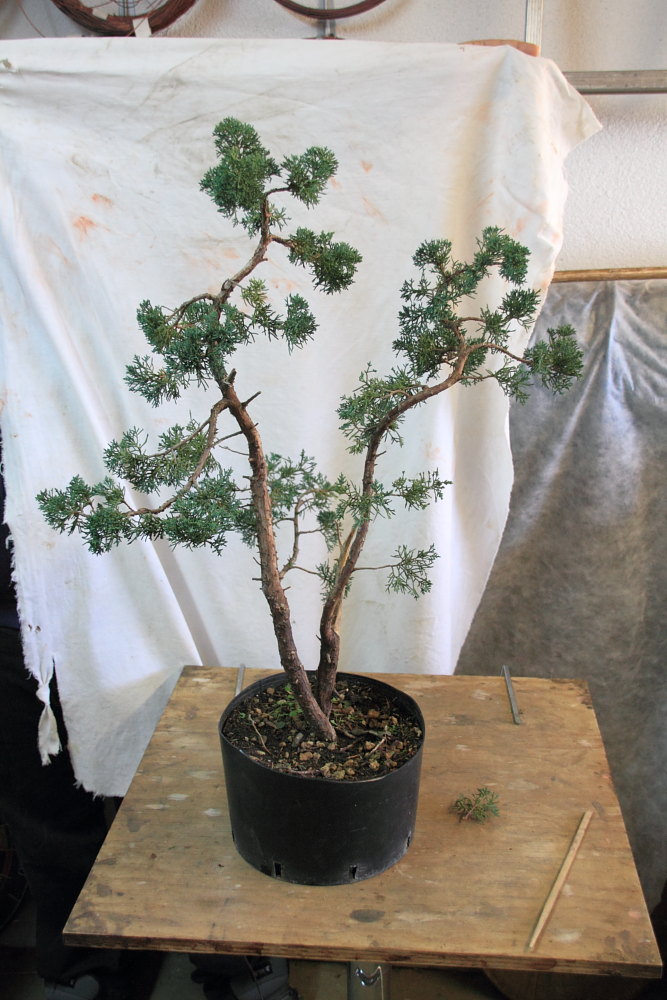
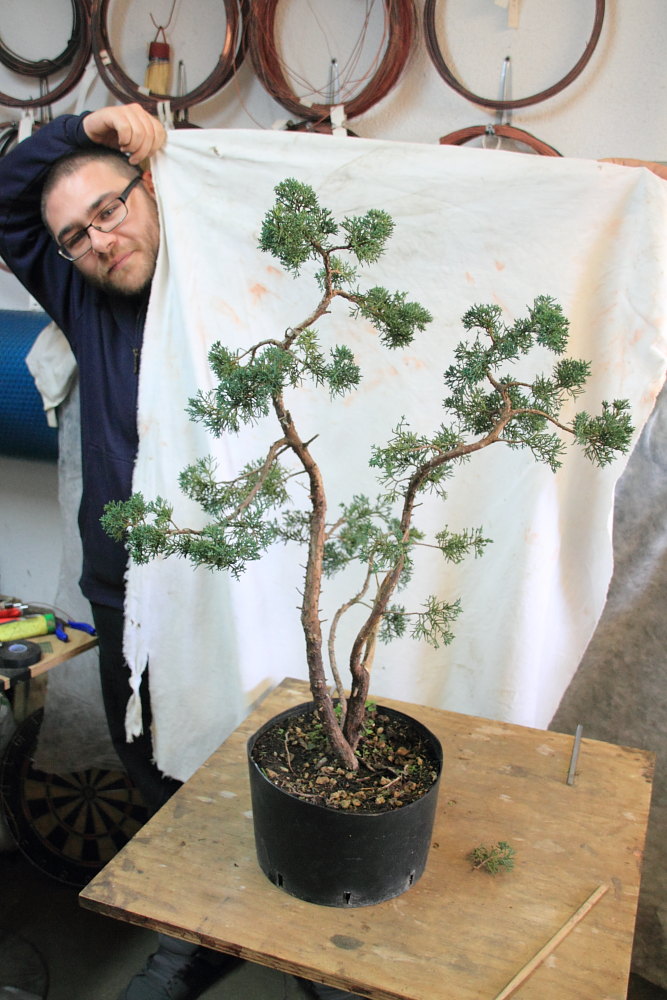
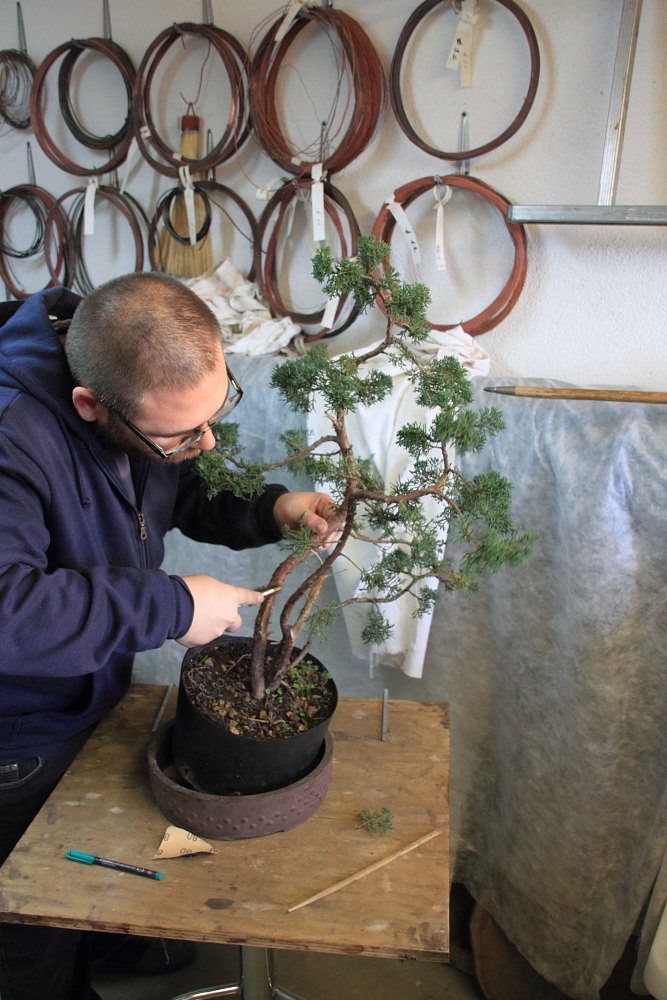
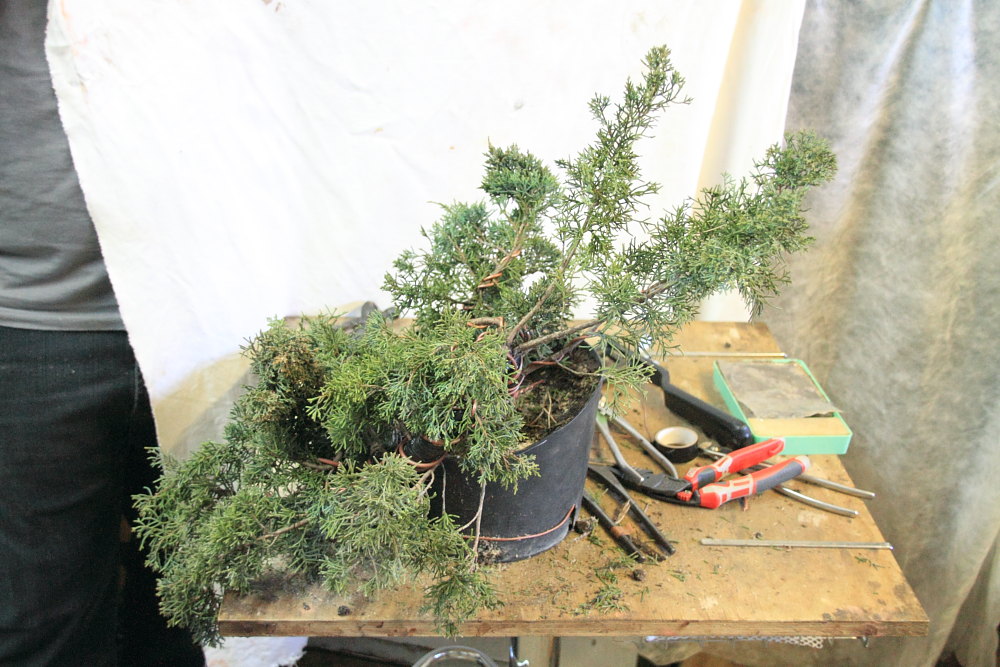
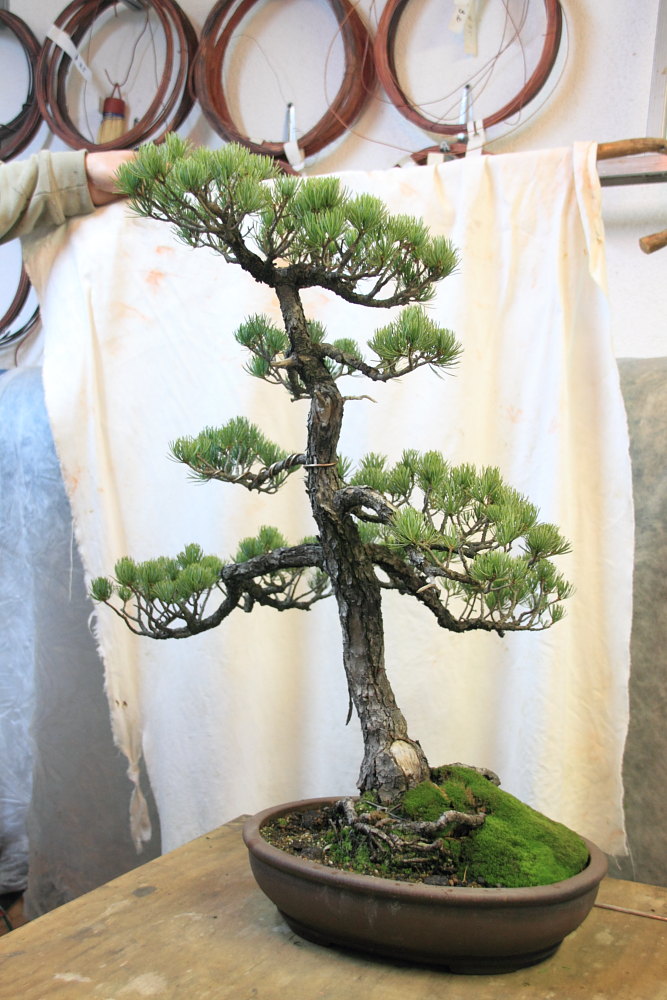
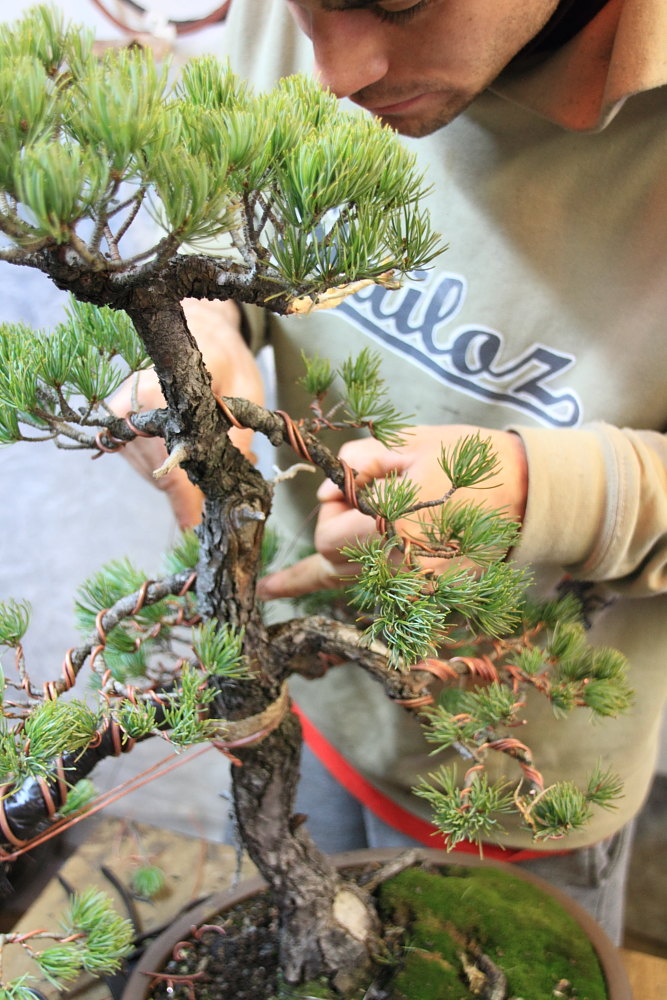
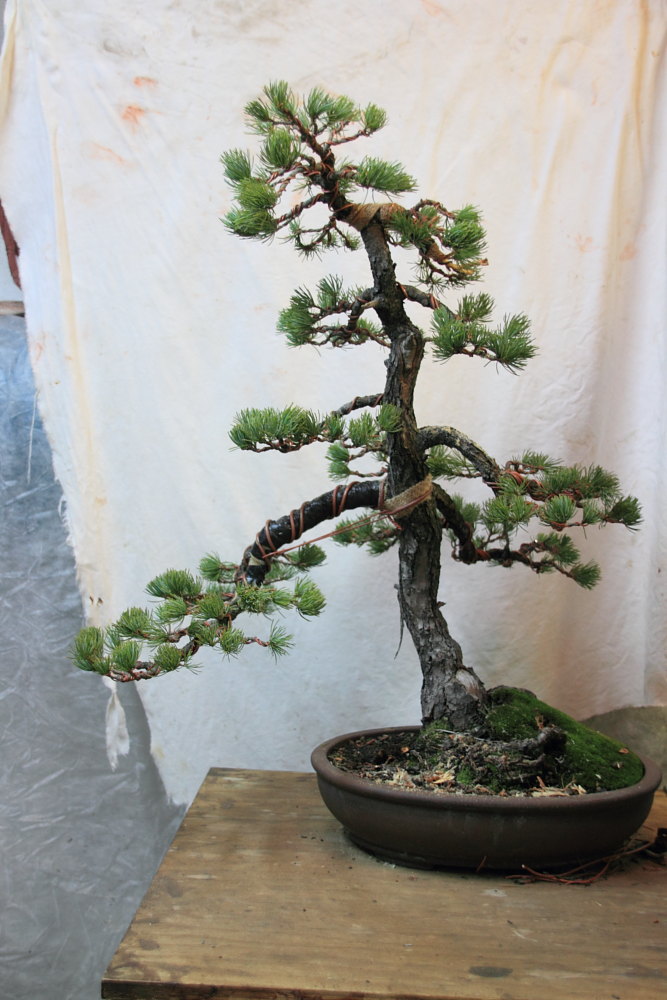
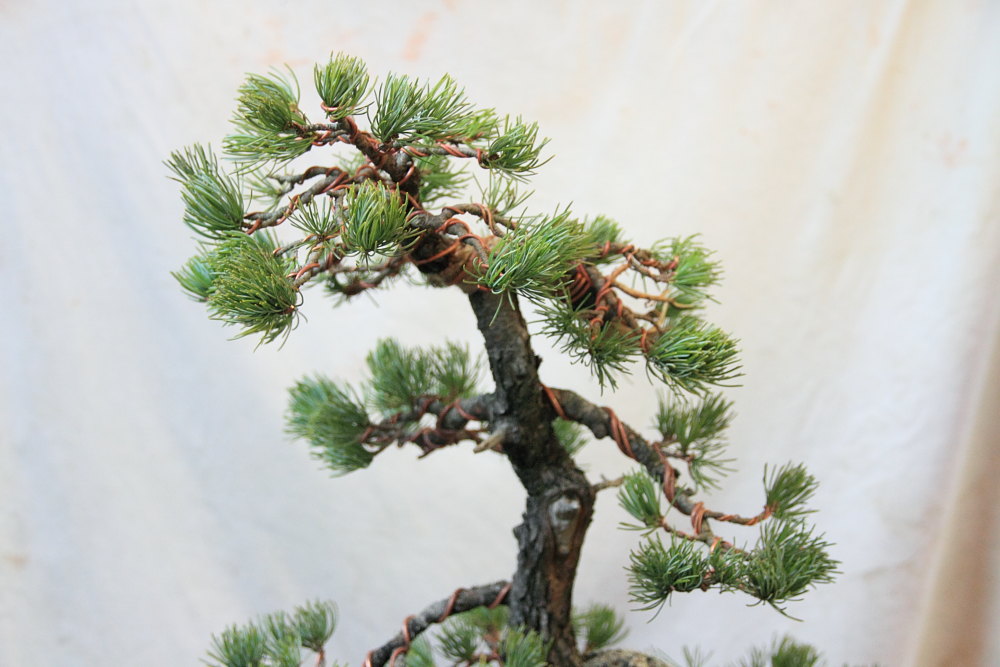
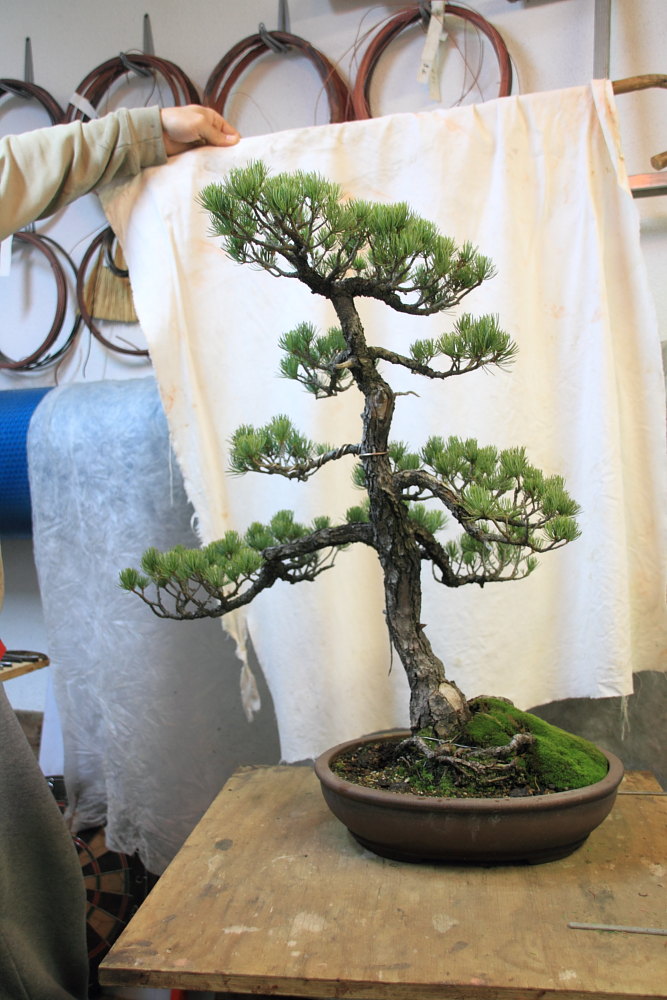 Franco oggi a portato un Goyomatsu dalla corteccia molto vecchia, cortecciato anche sui rami
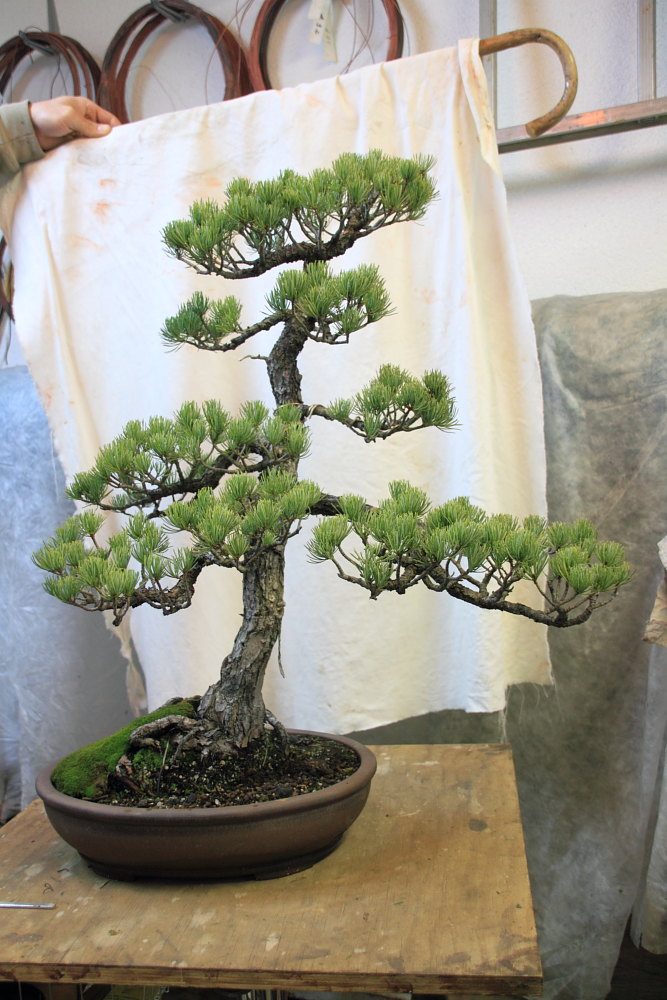 Il retro
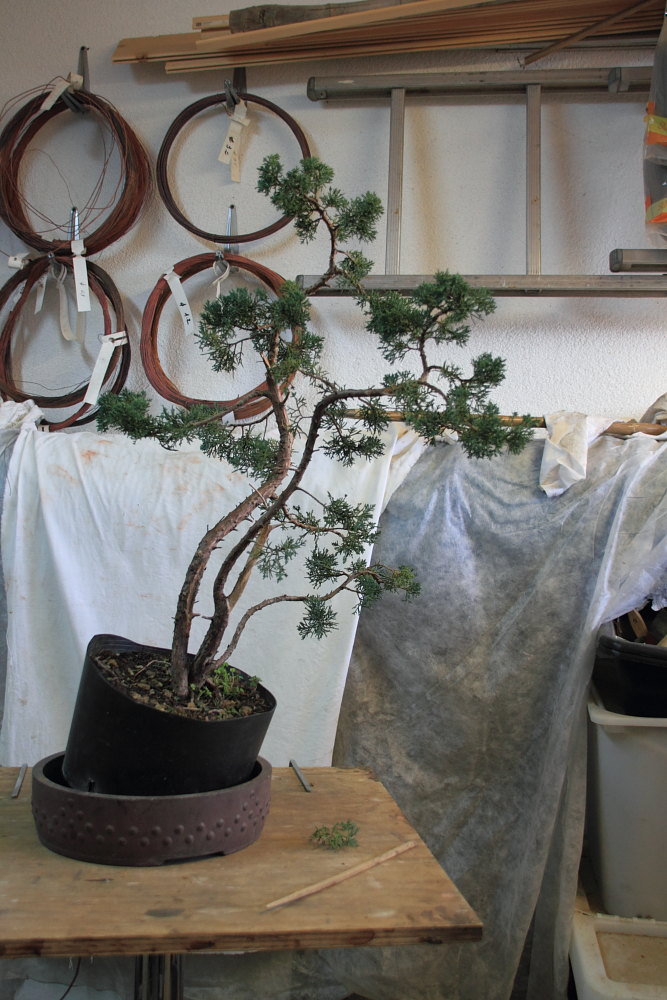
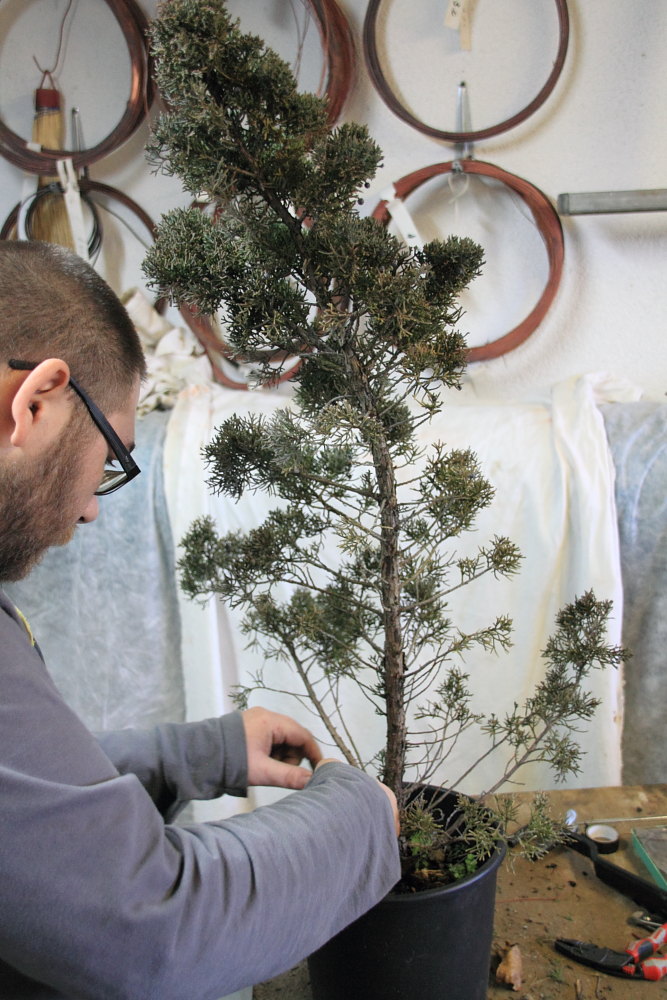
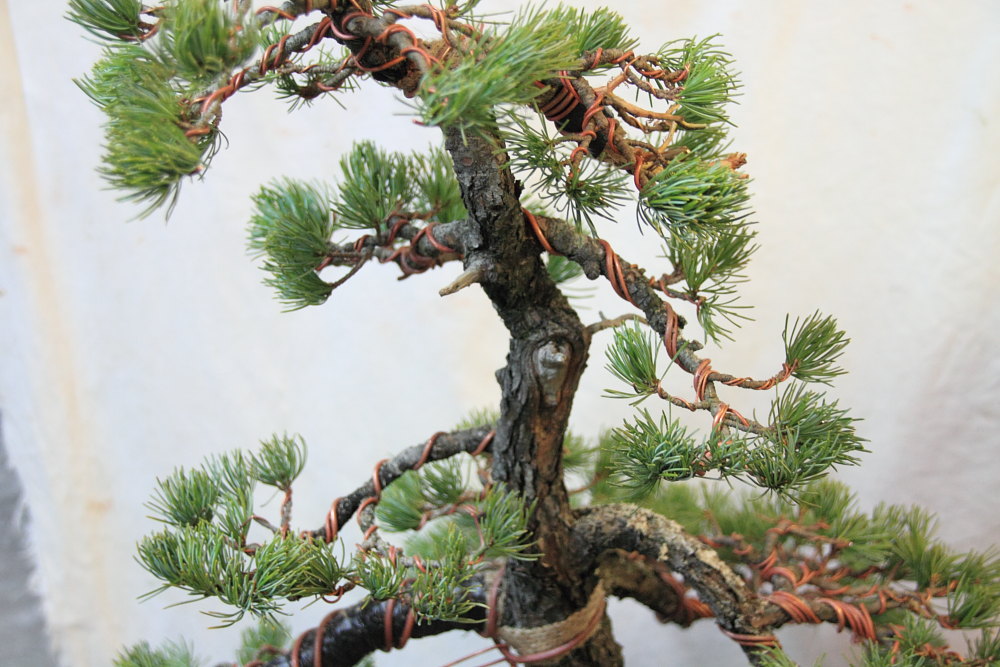
 Alcuni rami sono posizionati alla stessa altezza, vediamo come possiamo evitare l’effetto croce.
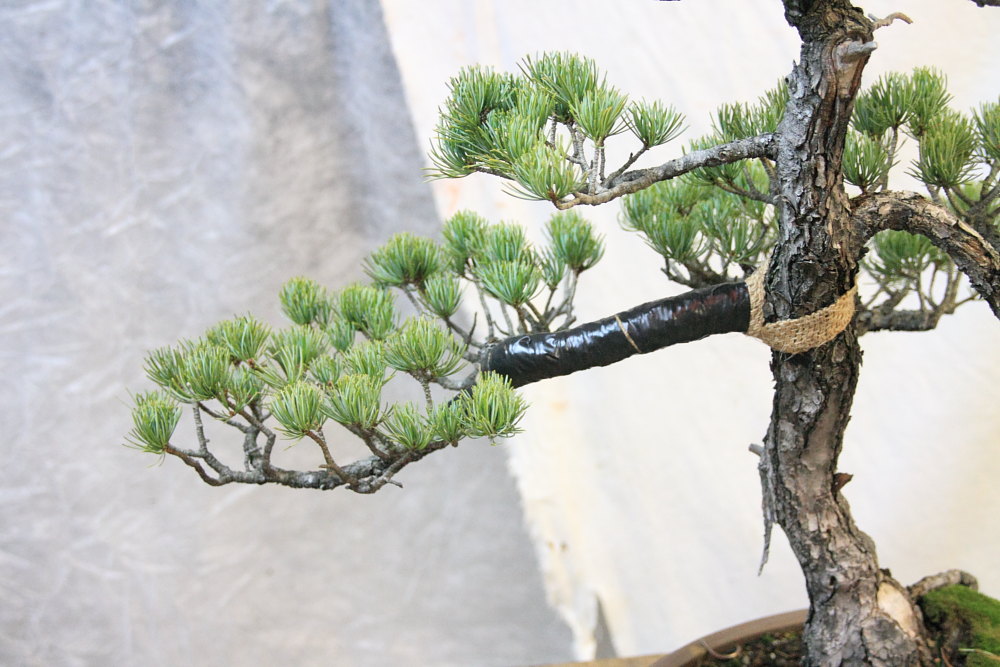 Si facia molto bene il primo ramo.
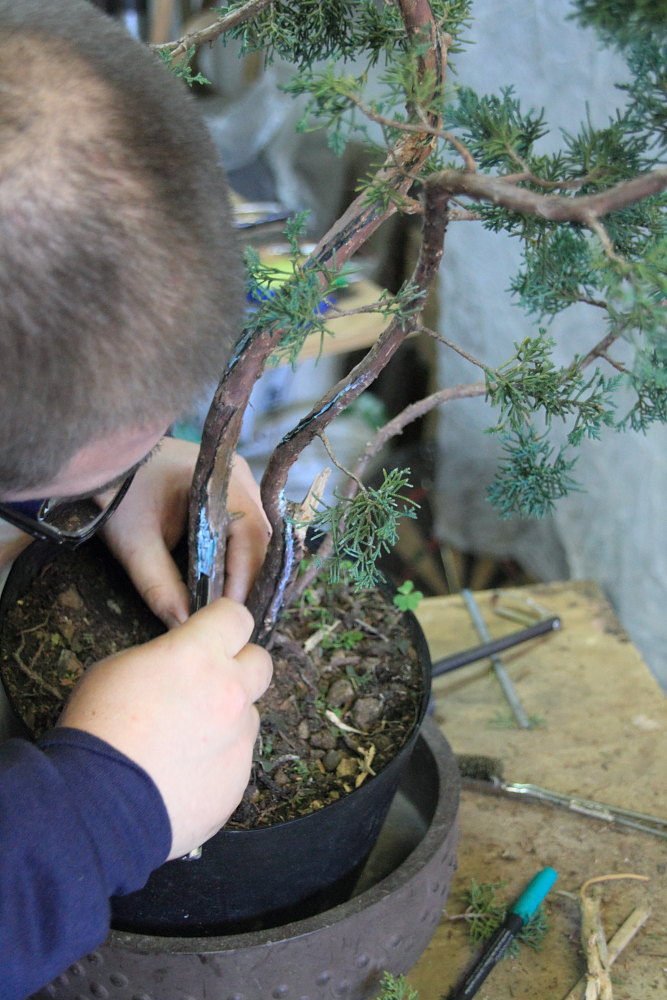
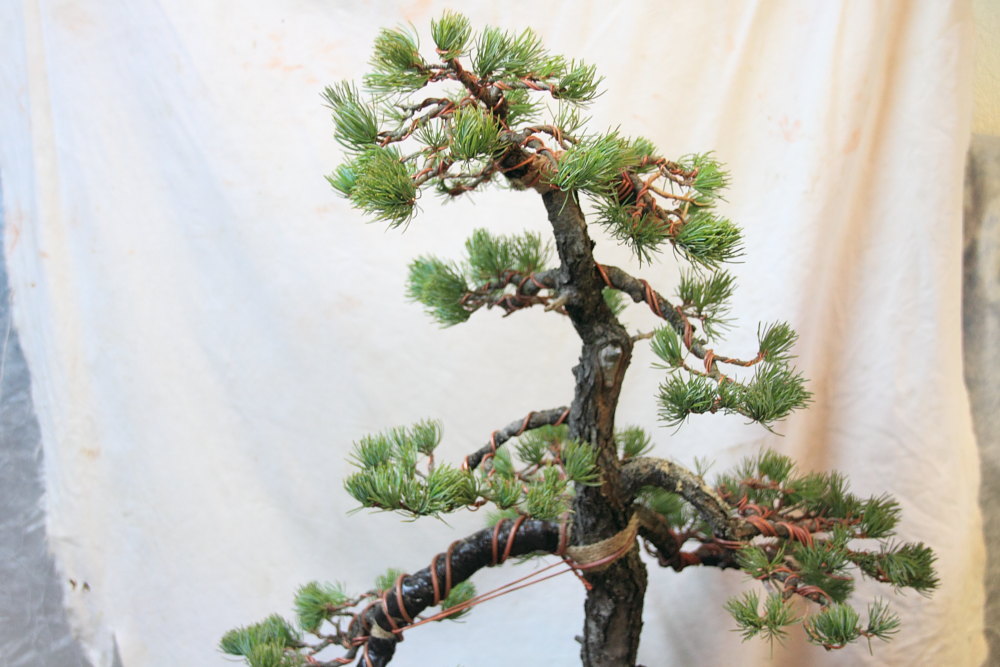
 con una leva e un tirante pieghiamo il tratto dritto del ramo
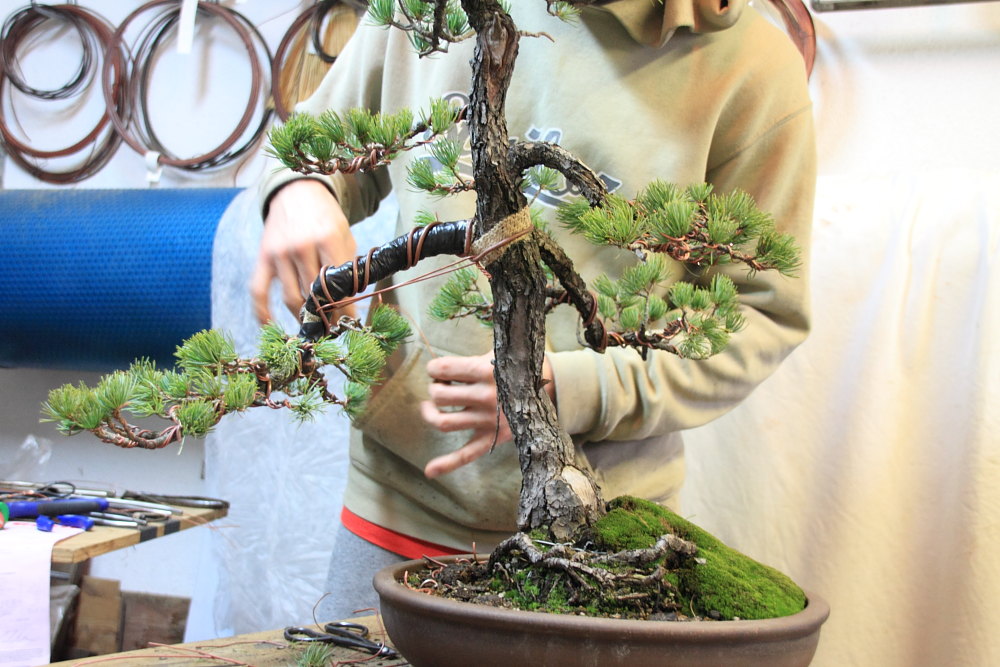
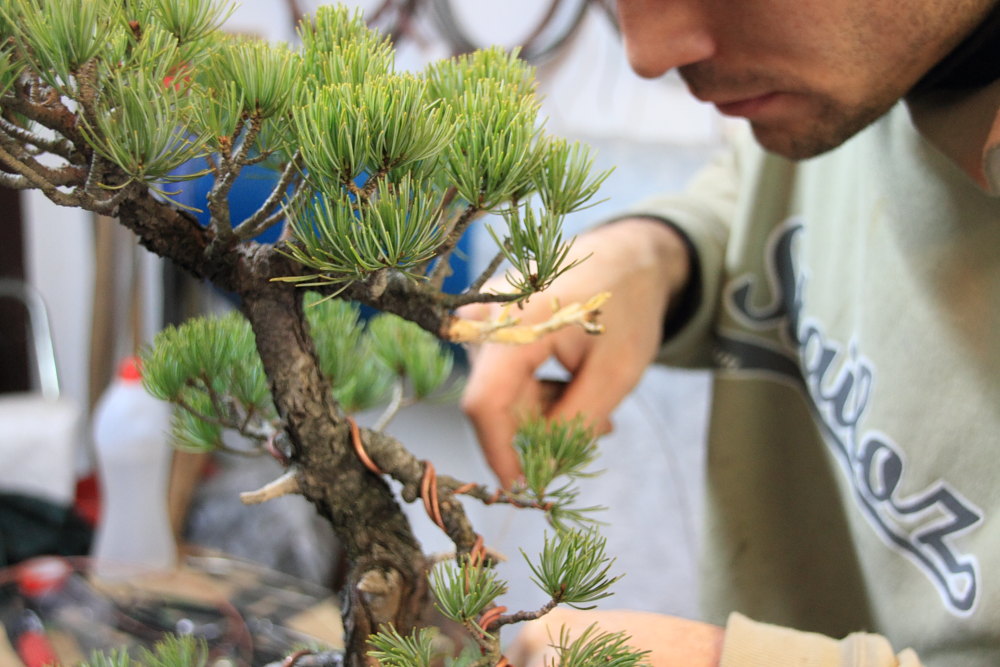


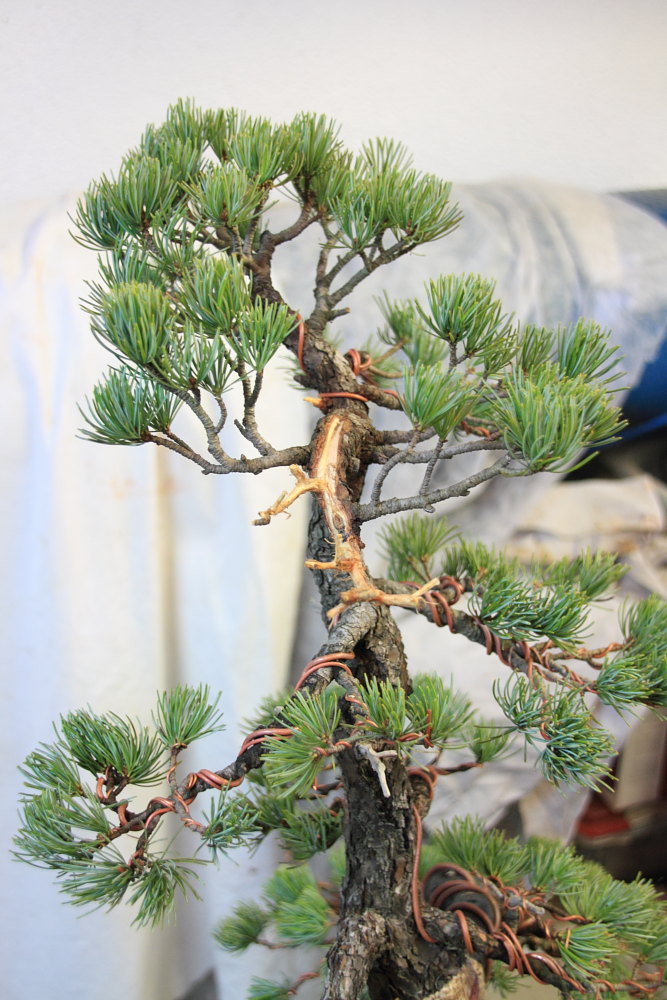
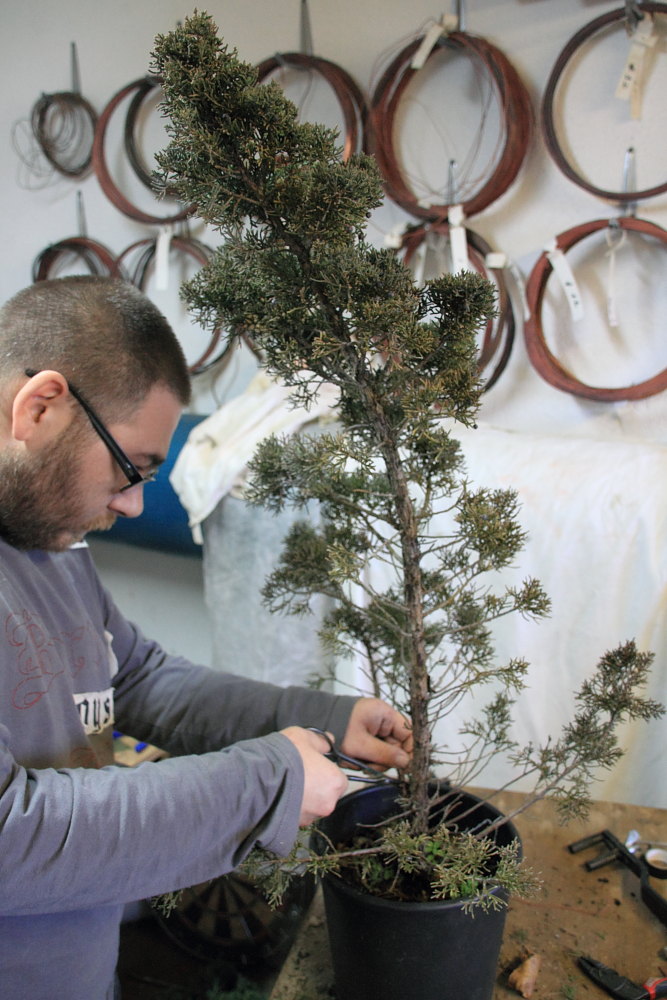
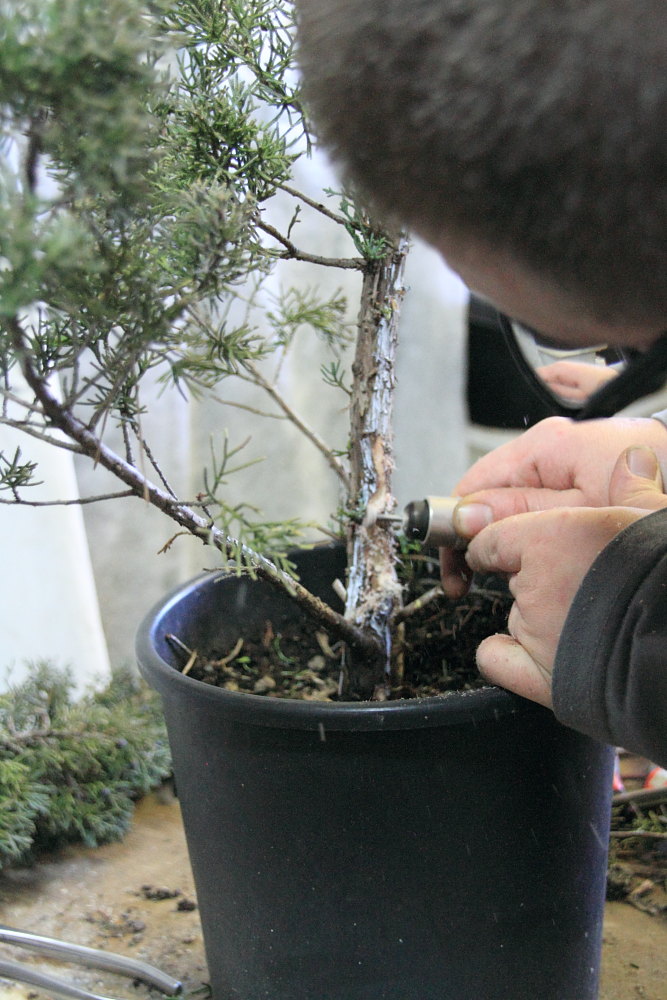
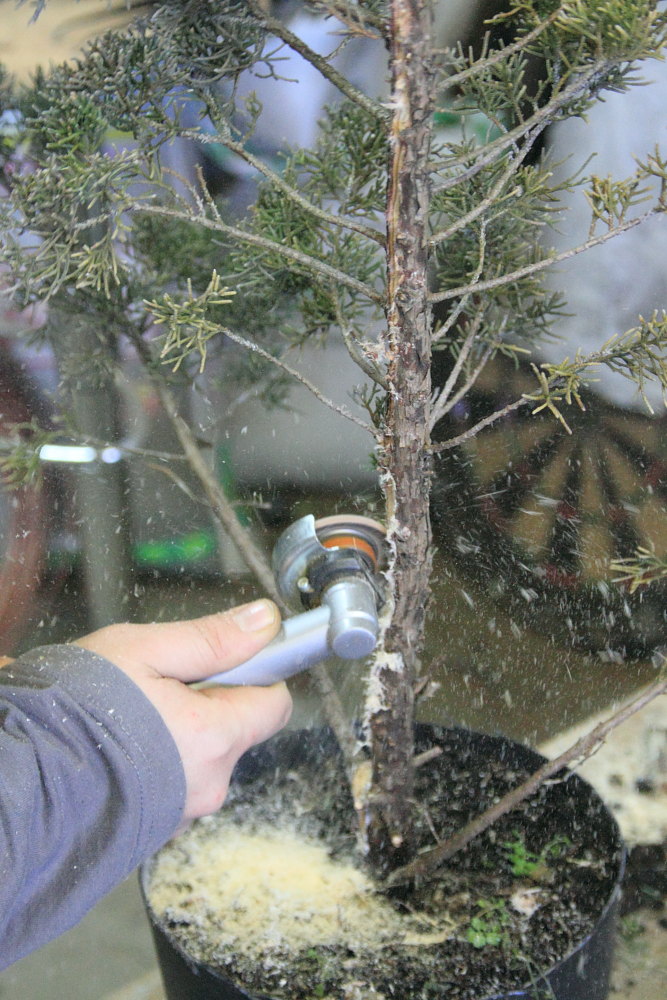
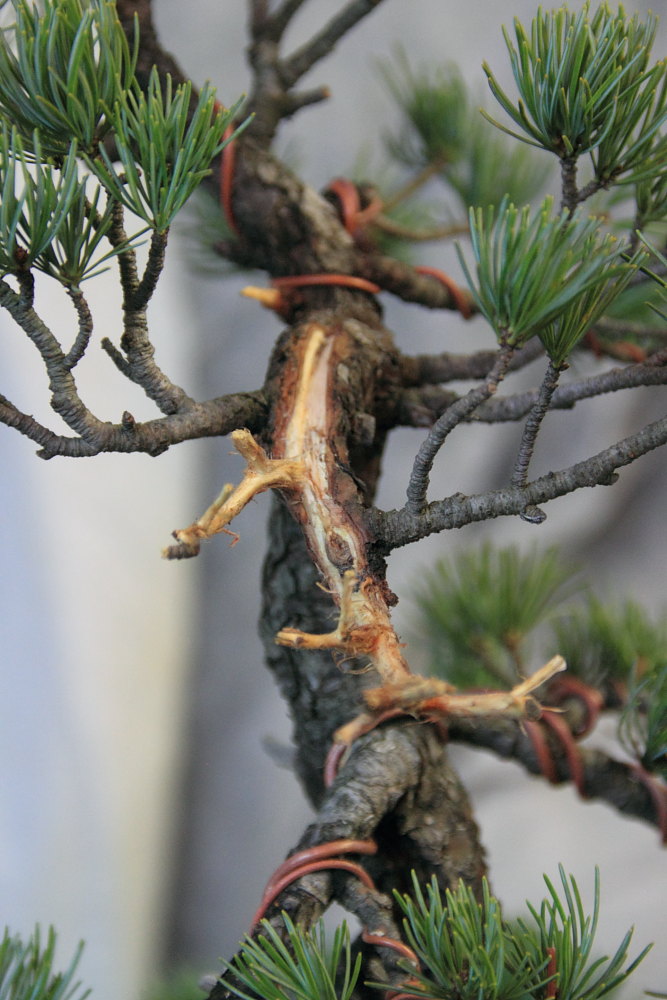 Questo ramo è problematico, molto grosso per la zona apicale, per prima cosa viene sfoltito.
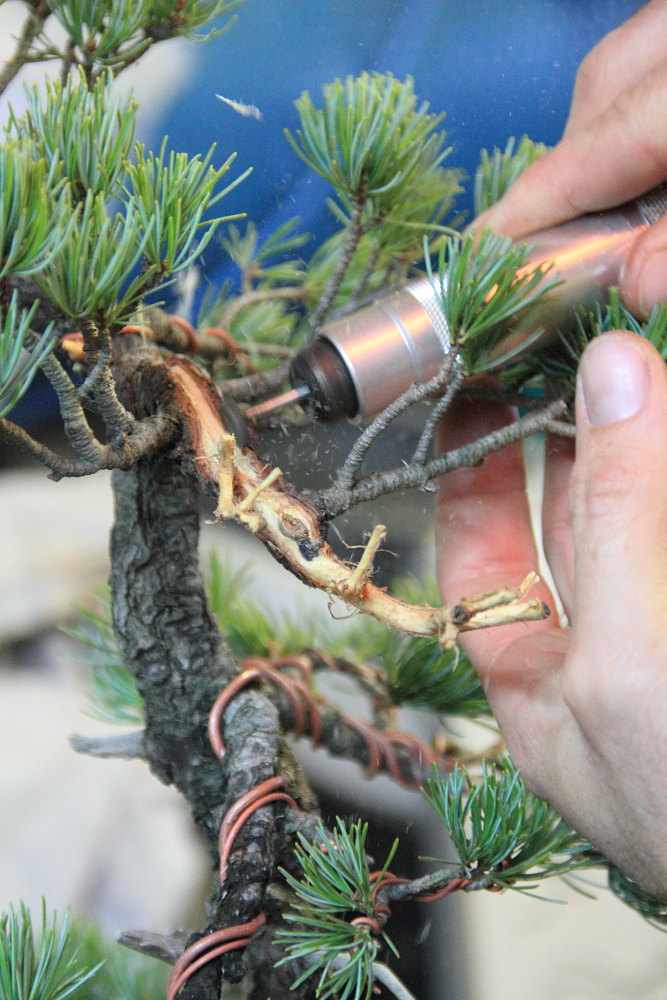 Poi si procede a svuortarlo con la fresa
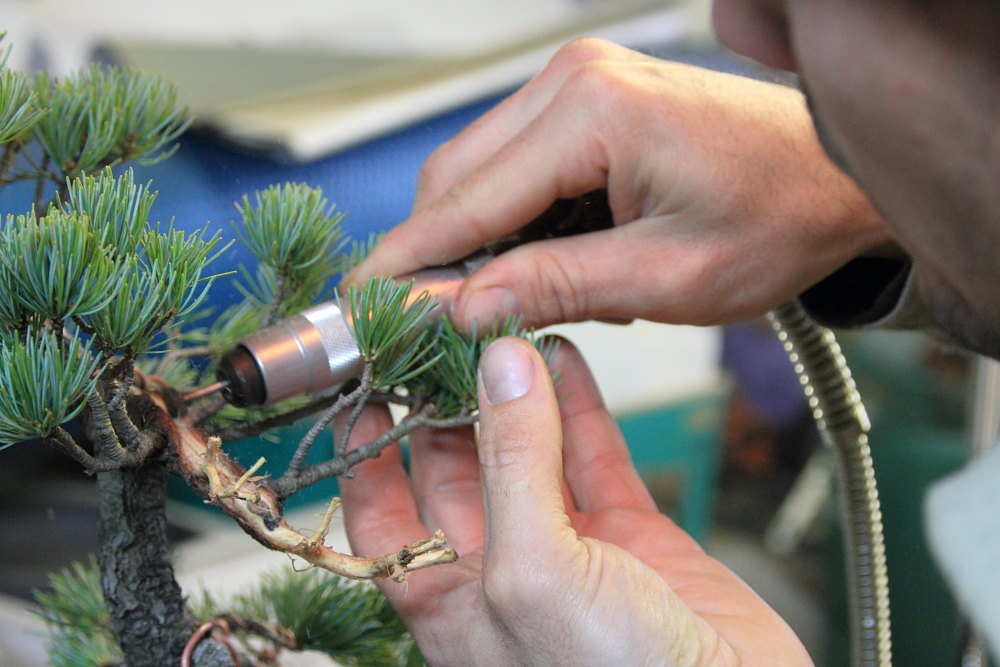
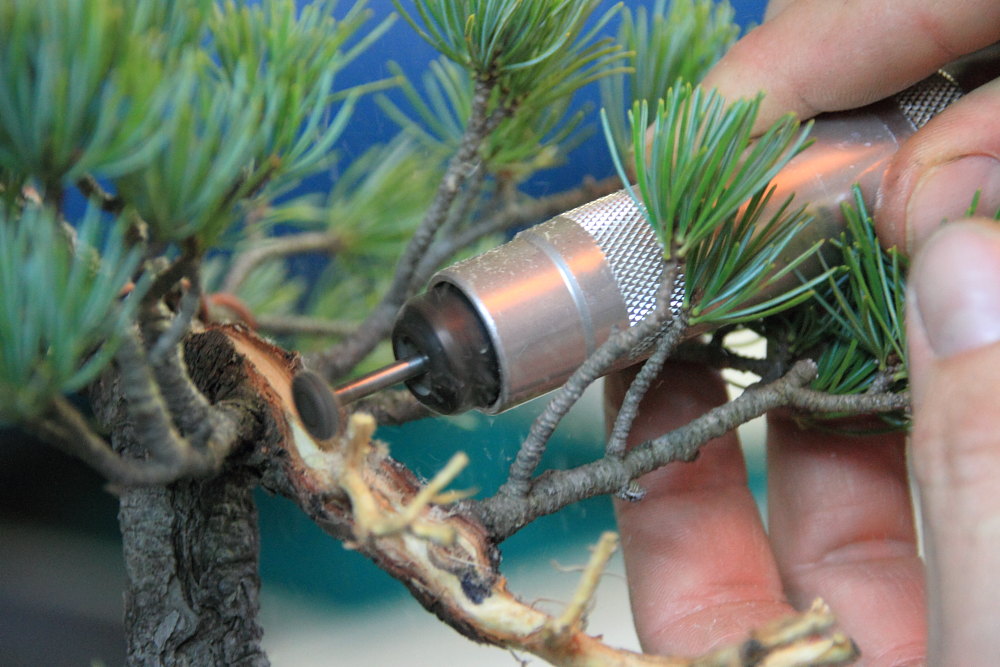
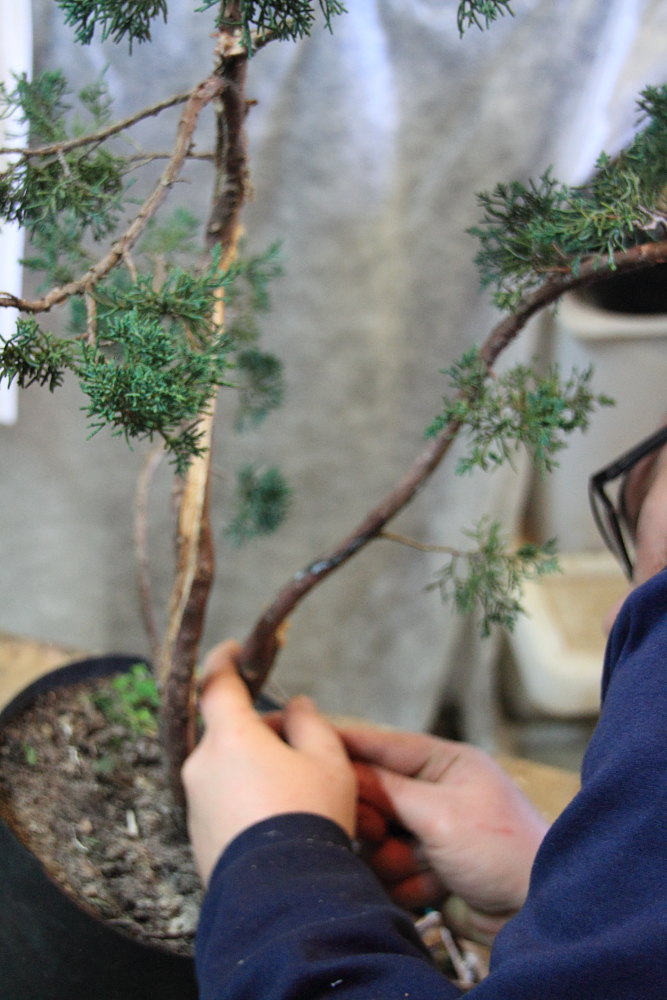
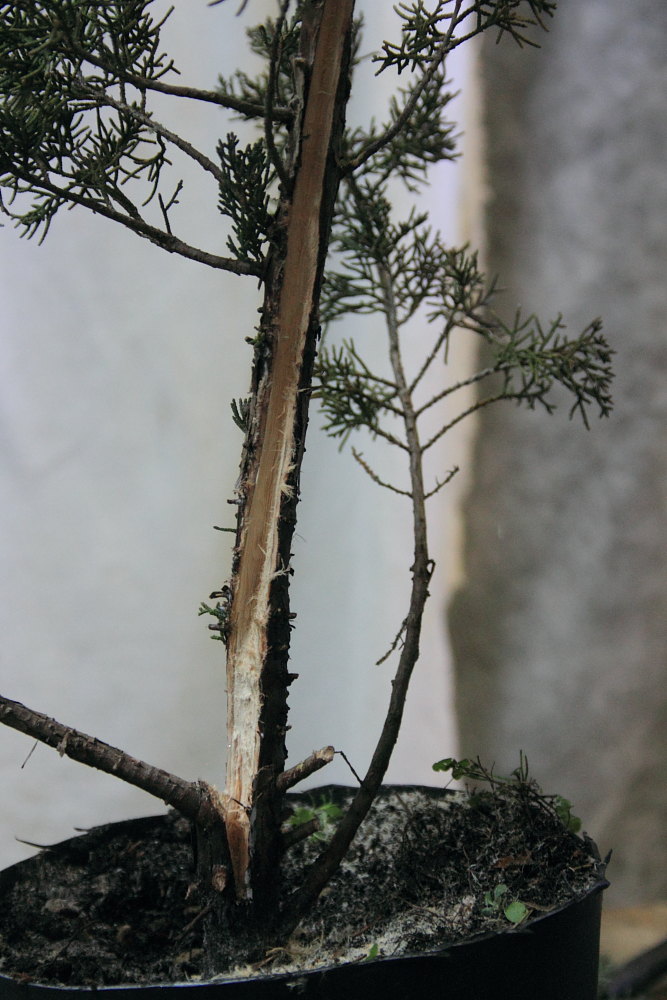
 Il questo modo si potrà sbassarlo senza problemi.
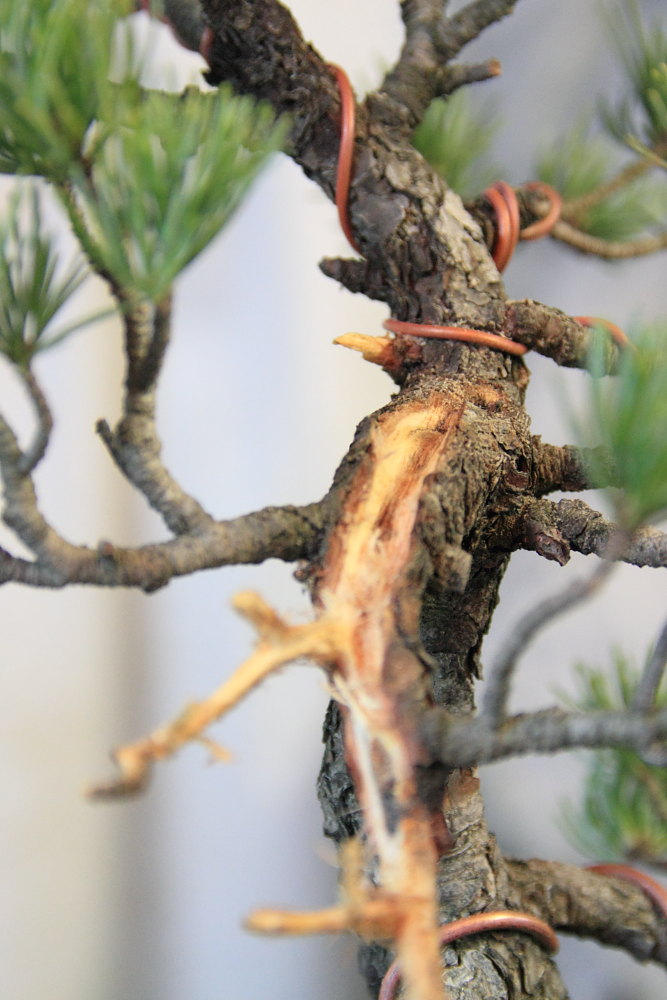
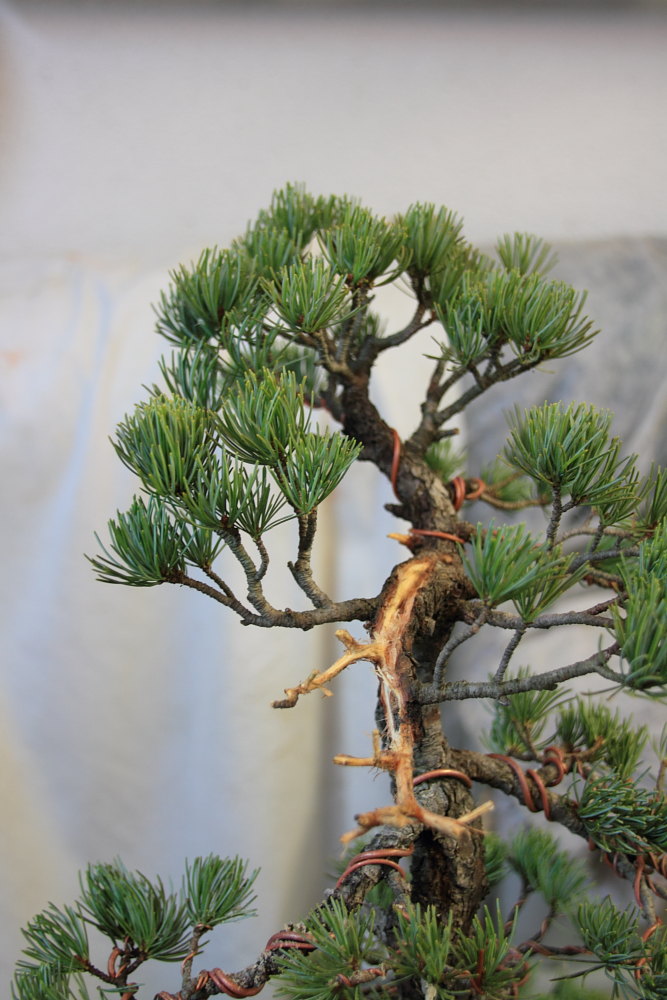
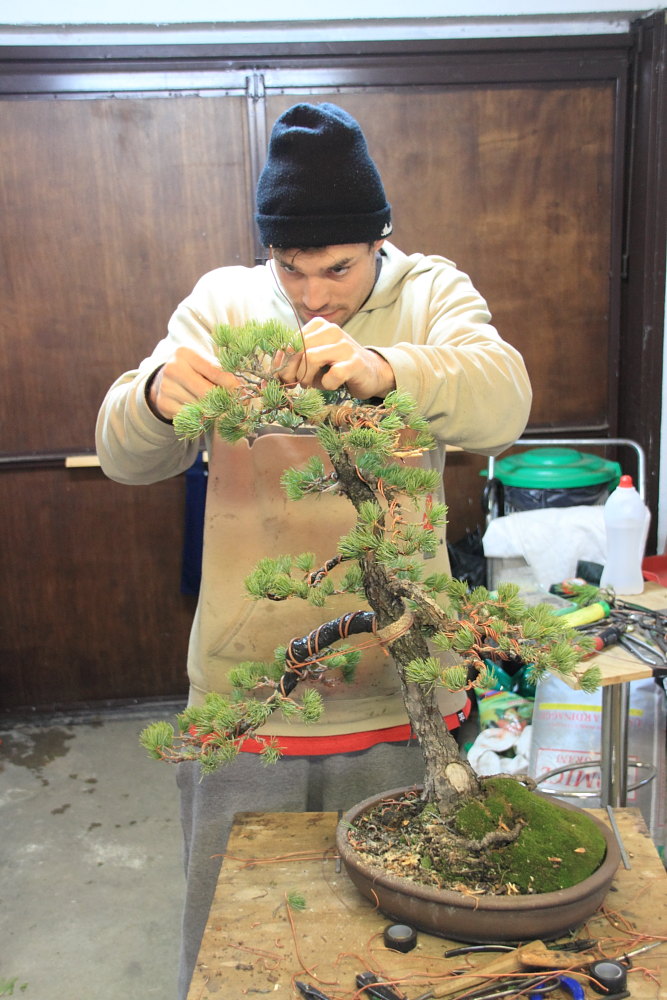
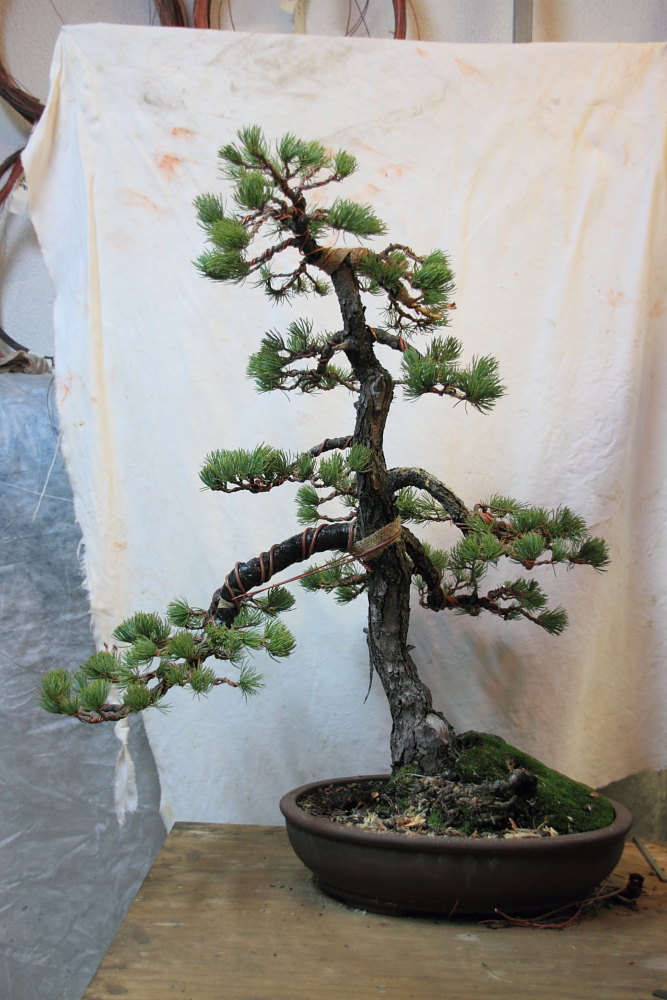
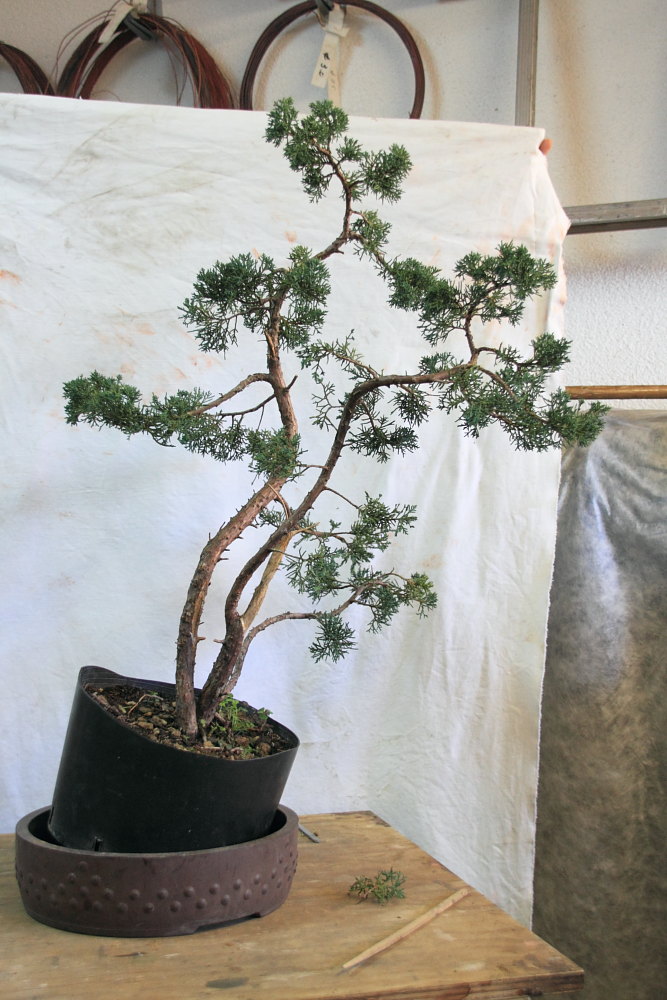
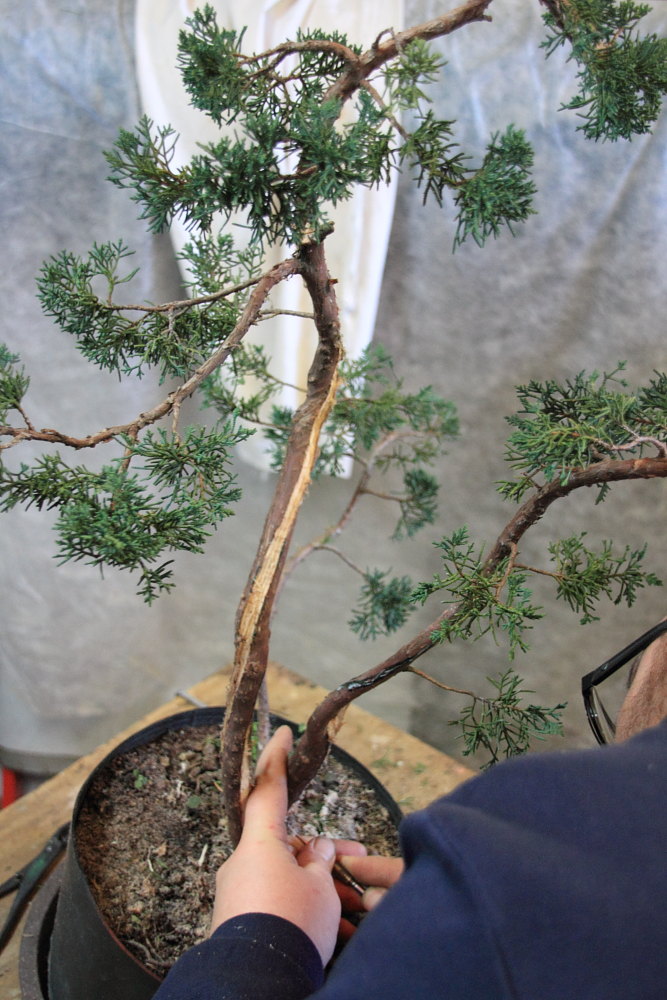
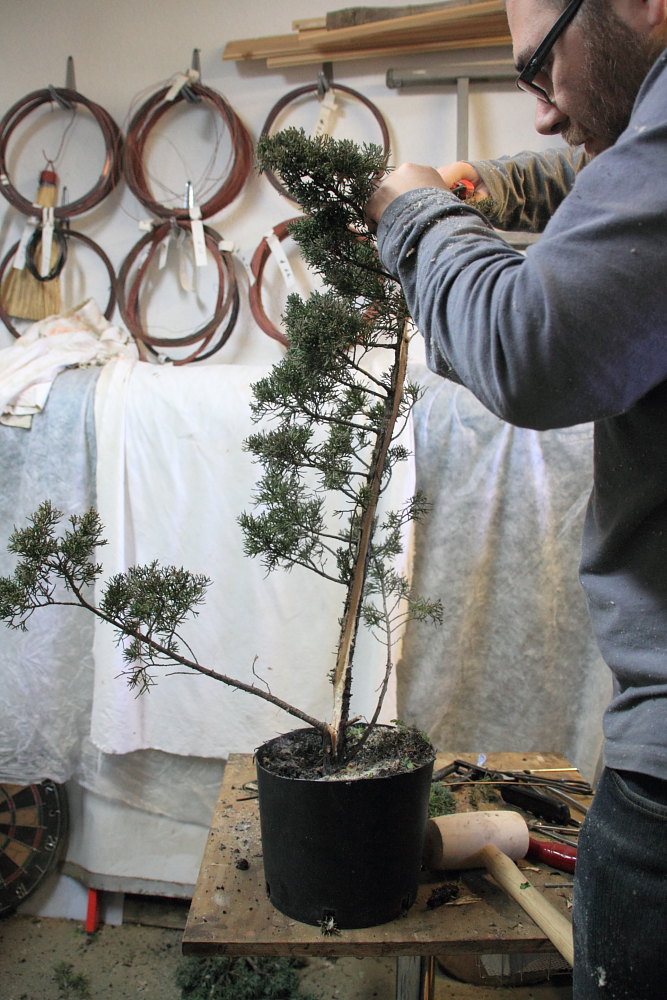
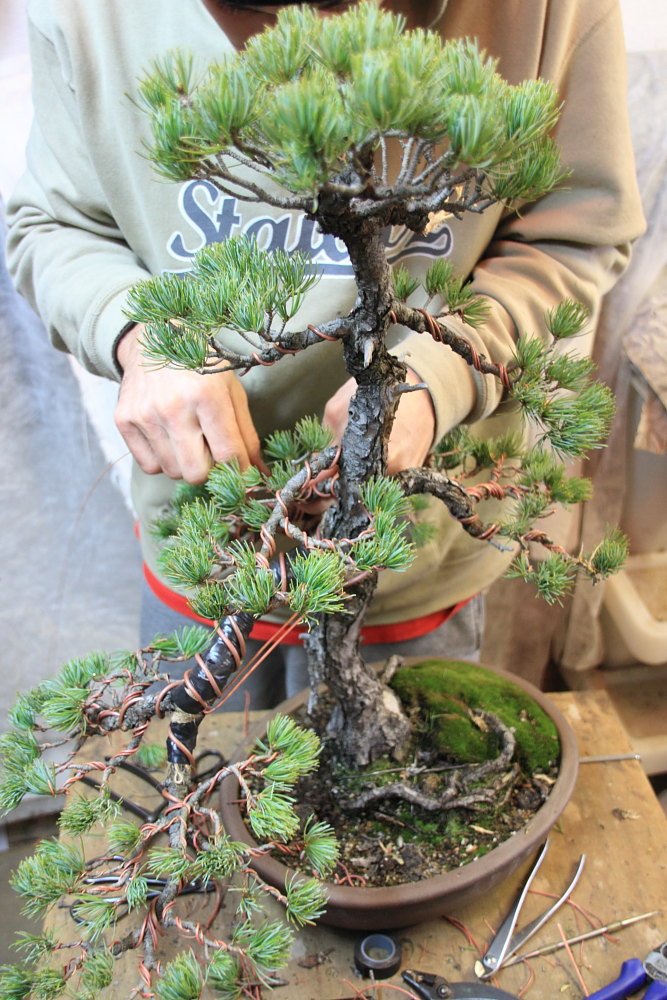
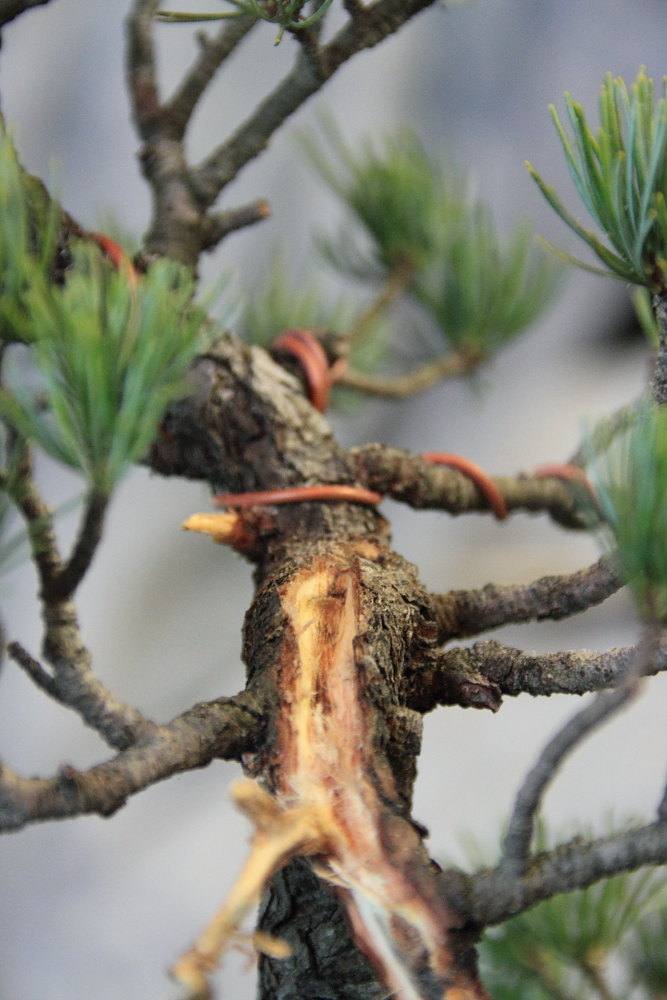
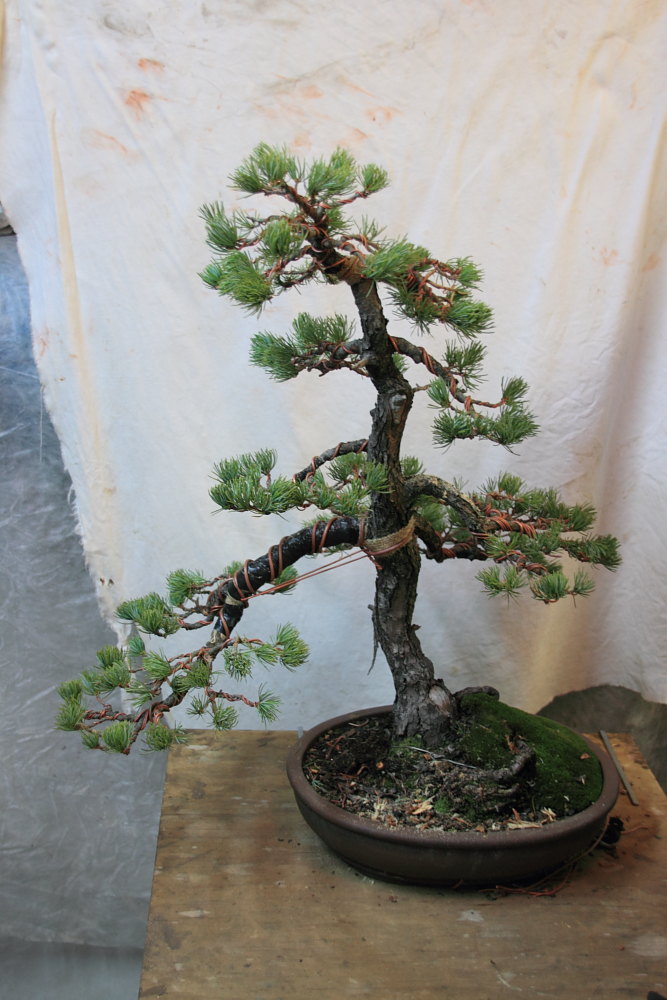
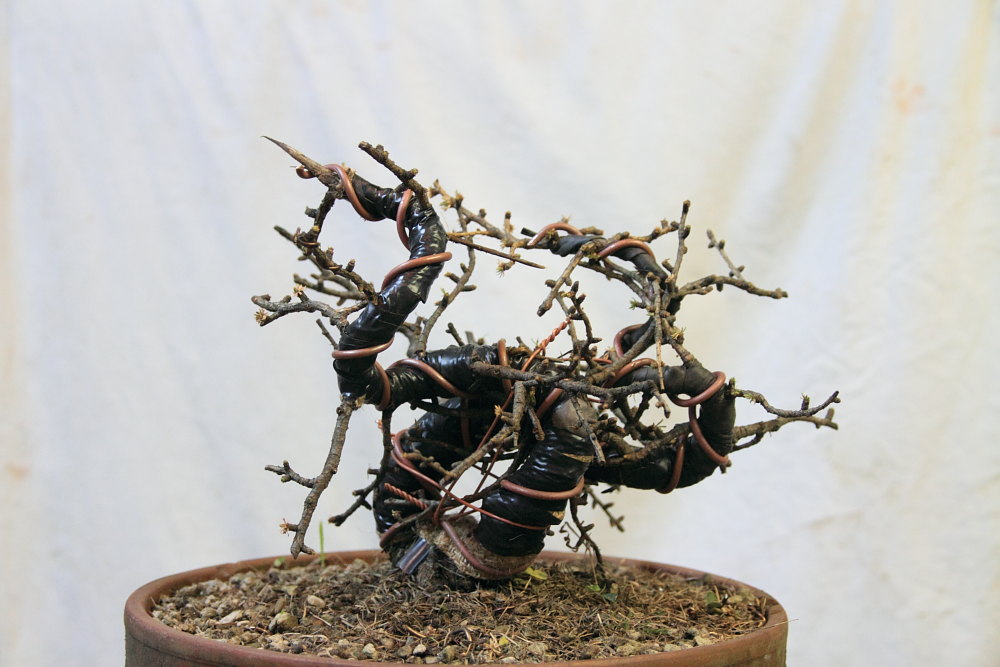
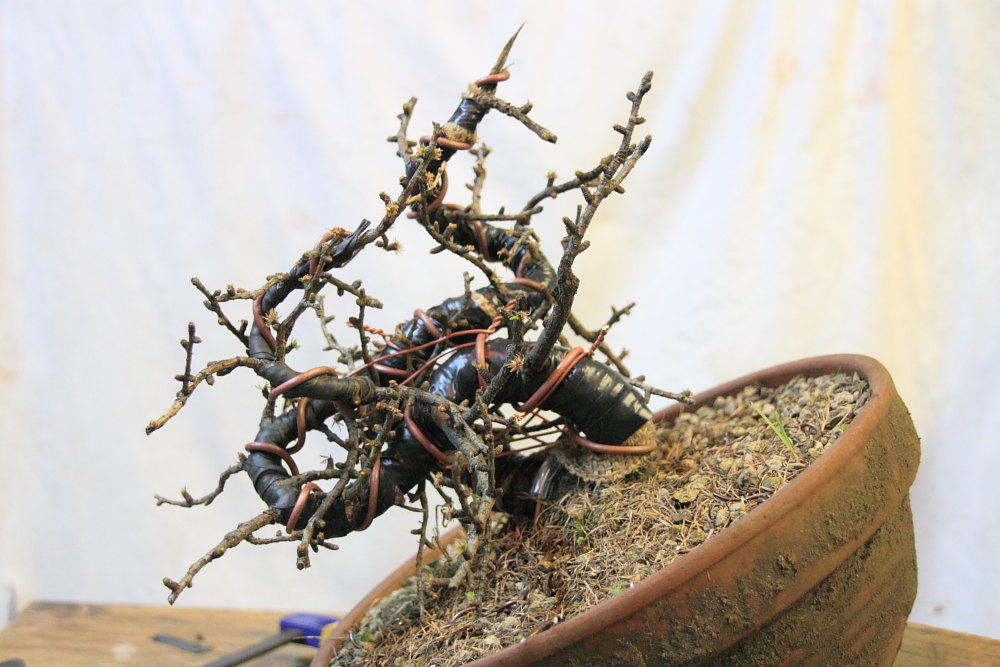
 Il penta a filatura ultimata
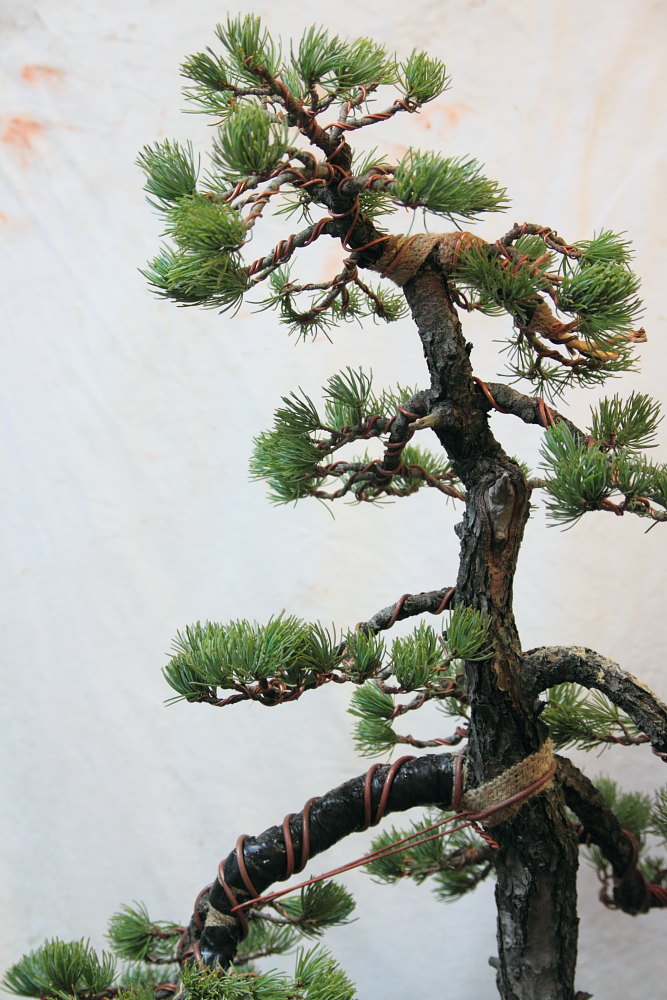


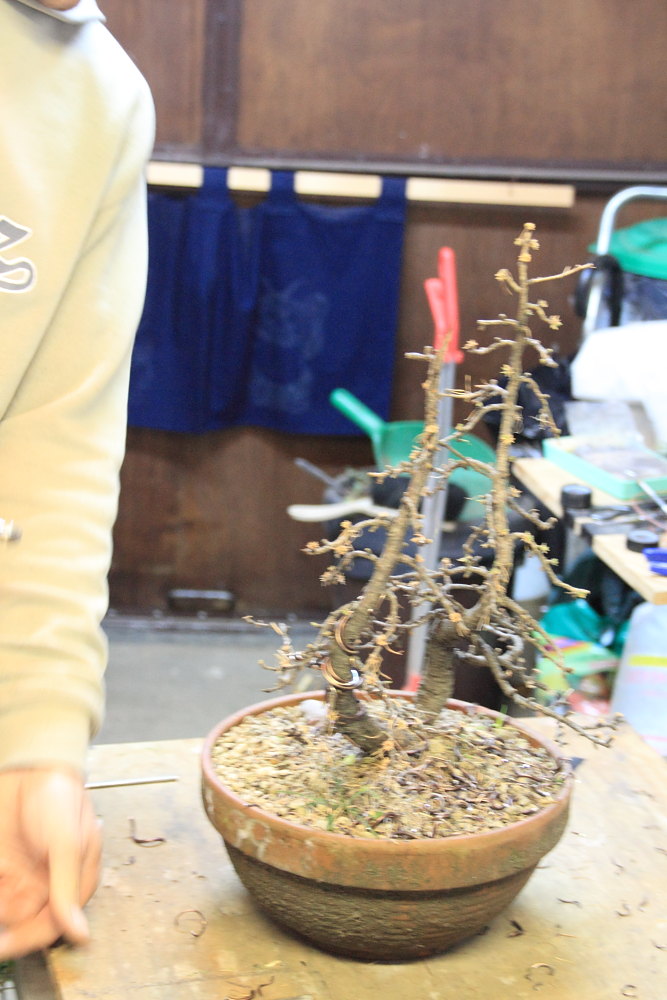
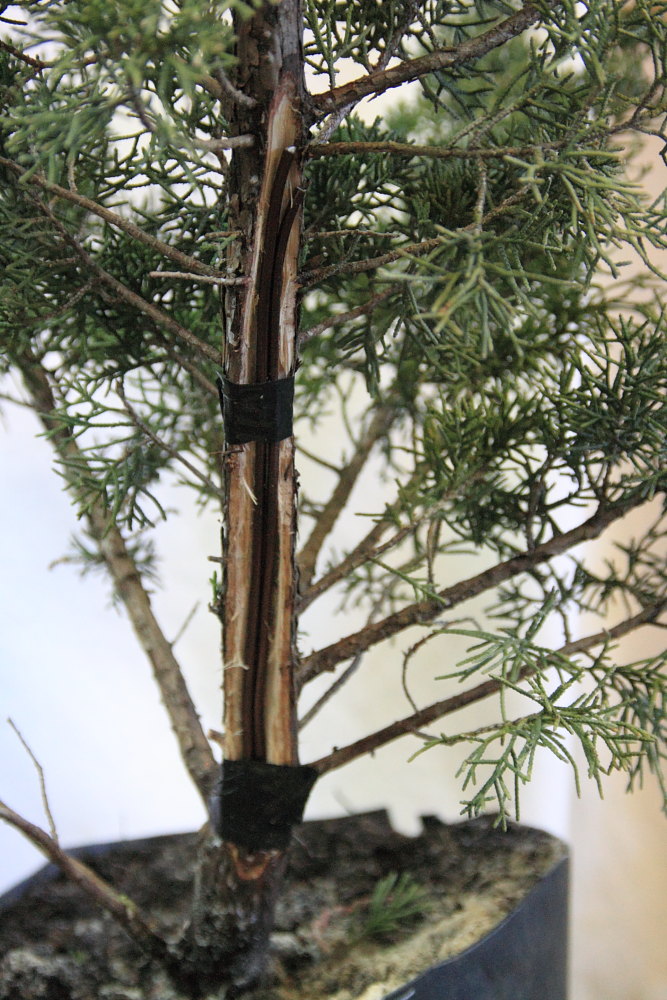
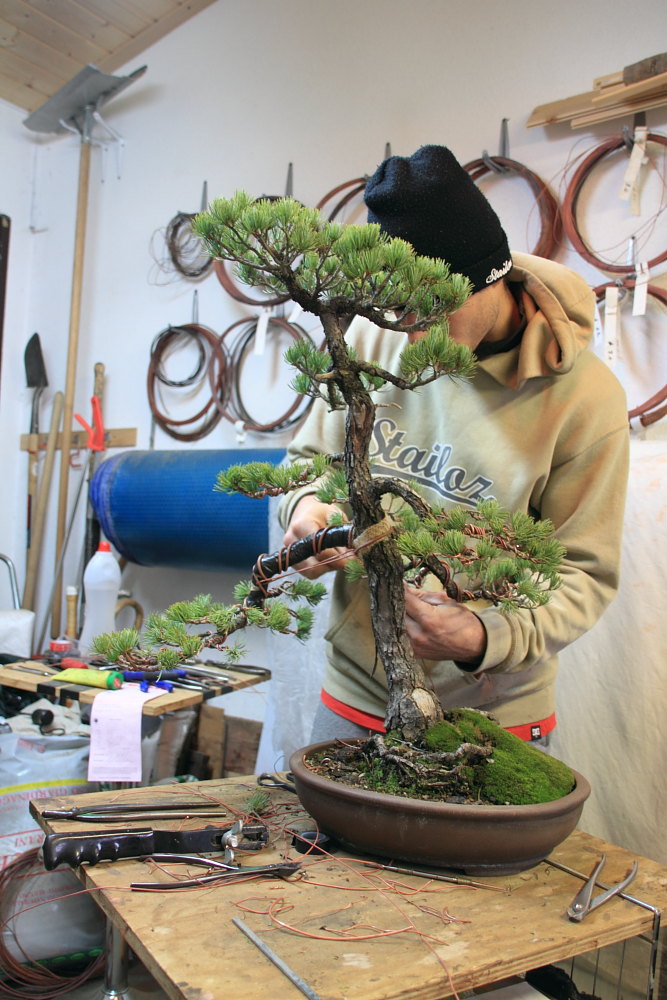
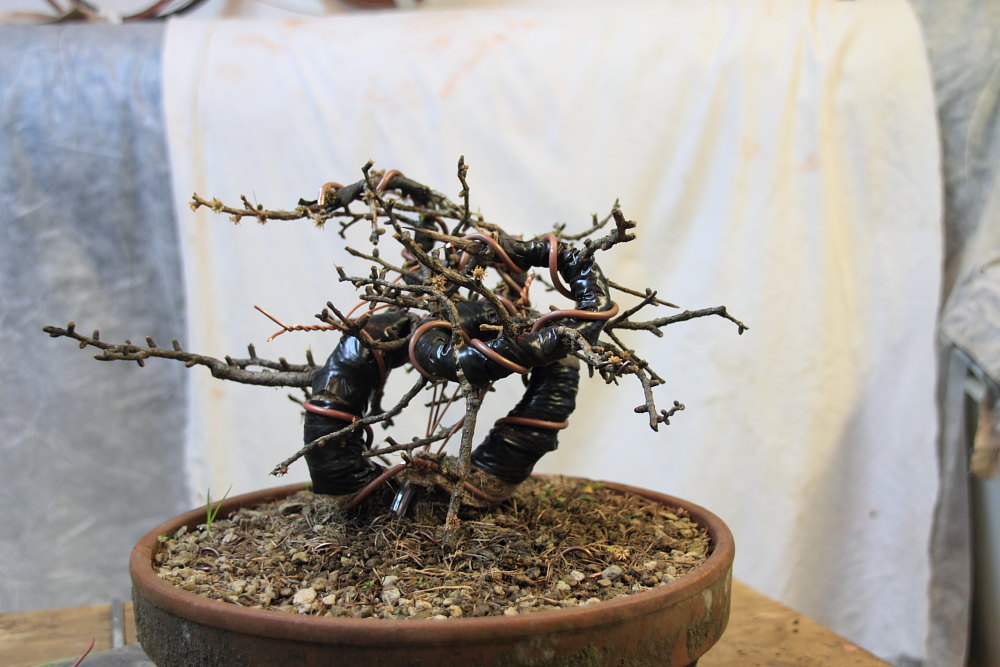
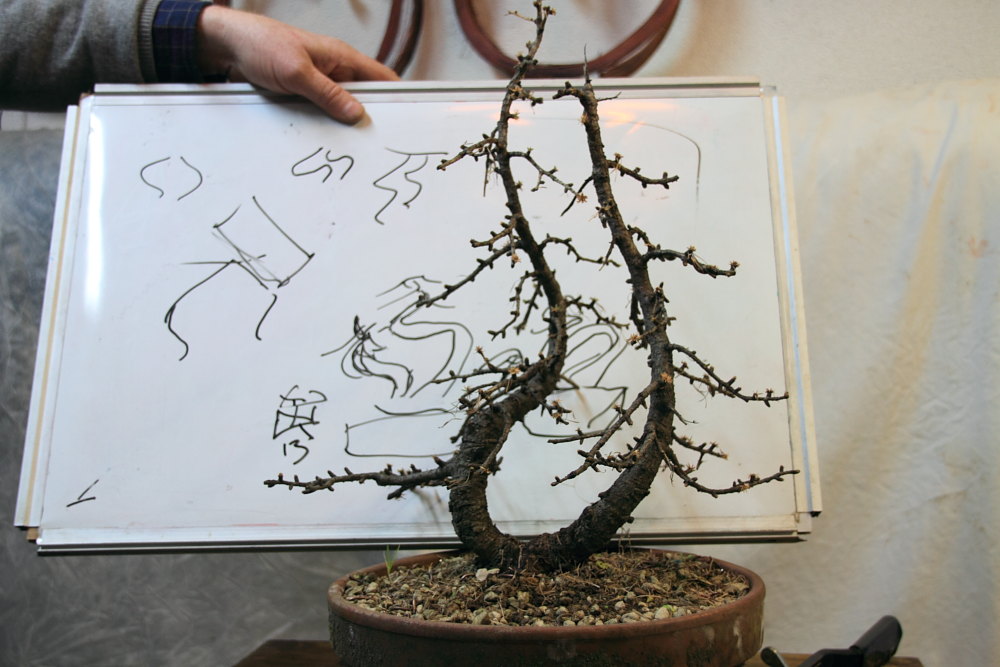 Un materiale problematico. i due tronchi sono molto simili e hanno una partenza a U
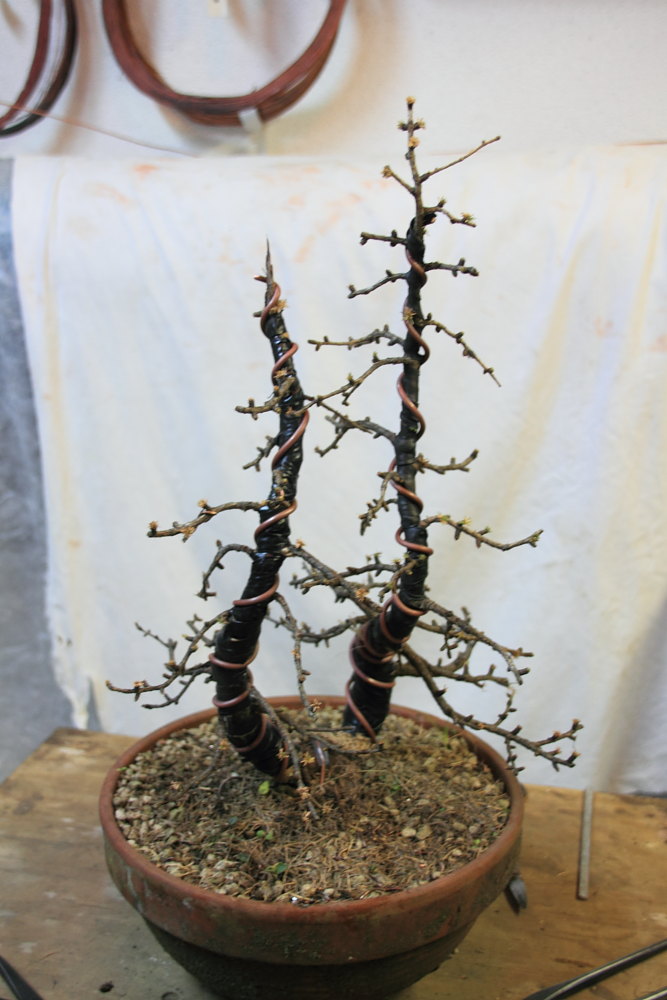
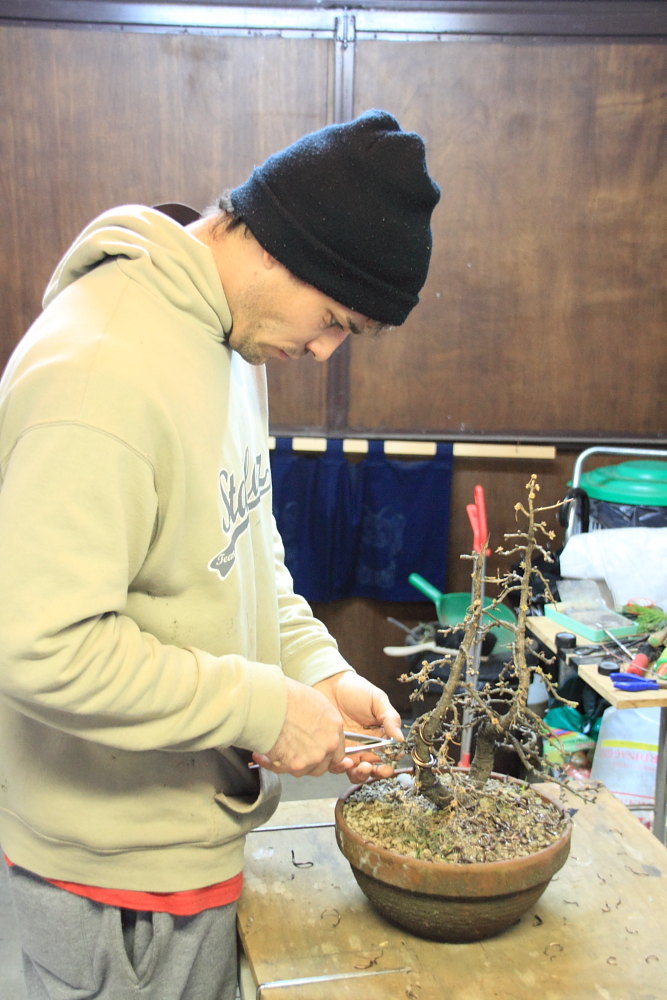
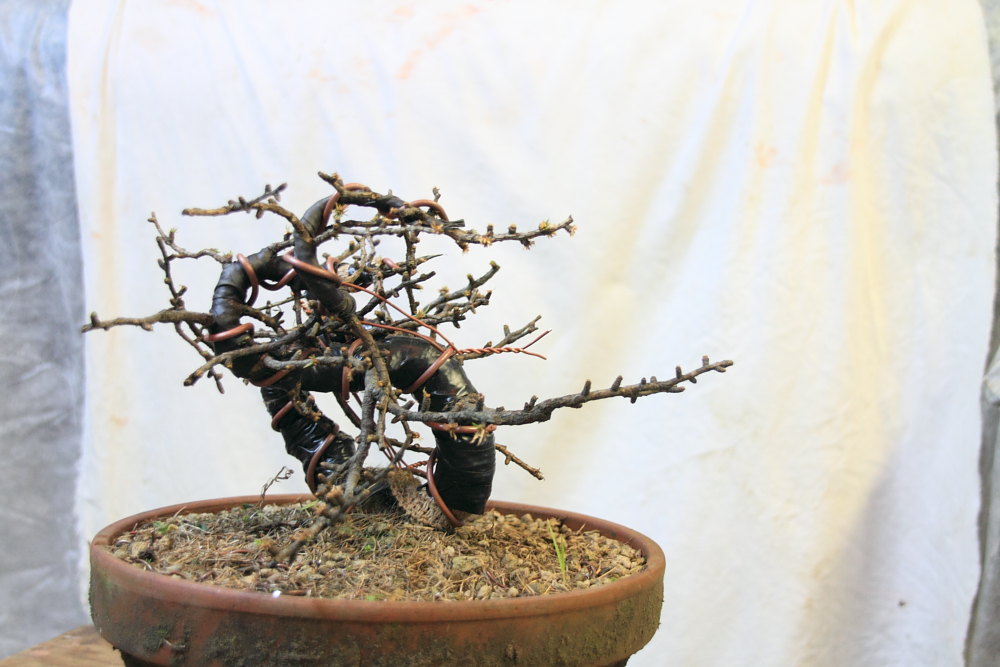
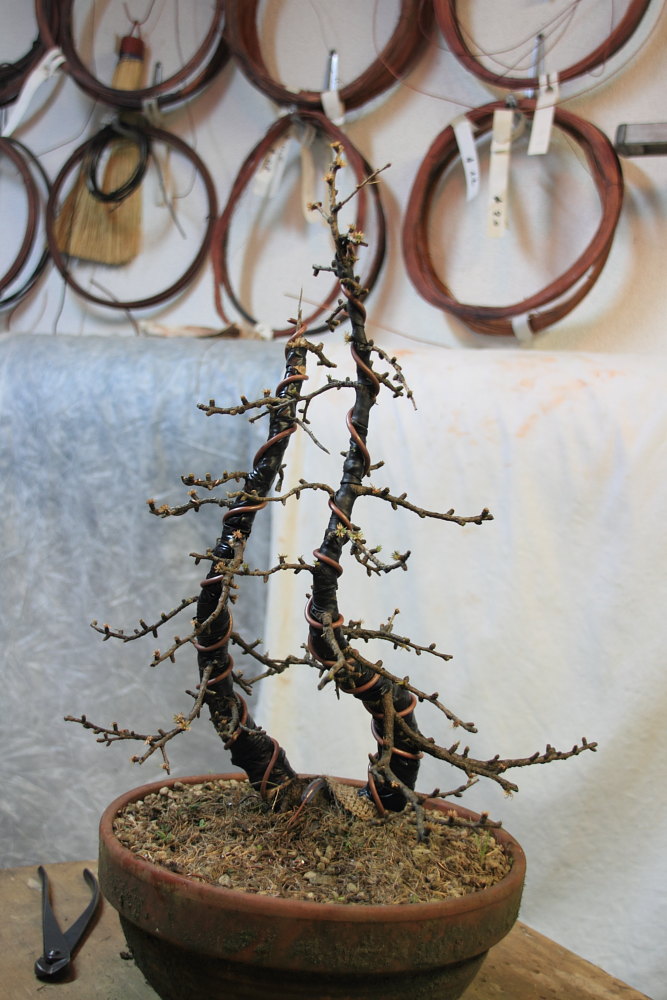 Si fascia e si piega.
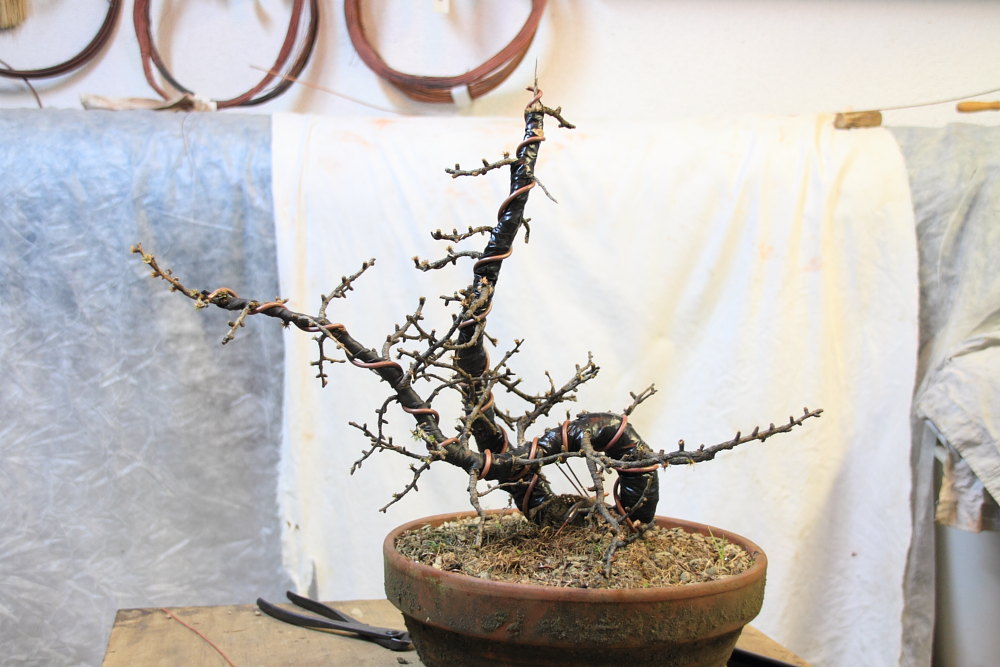

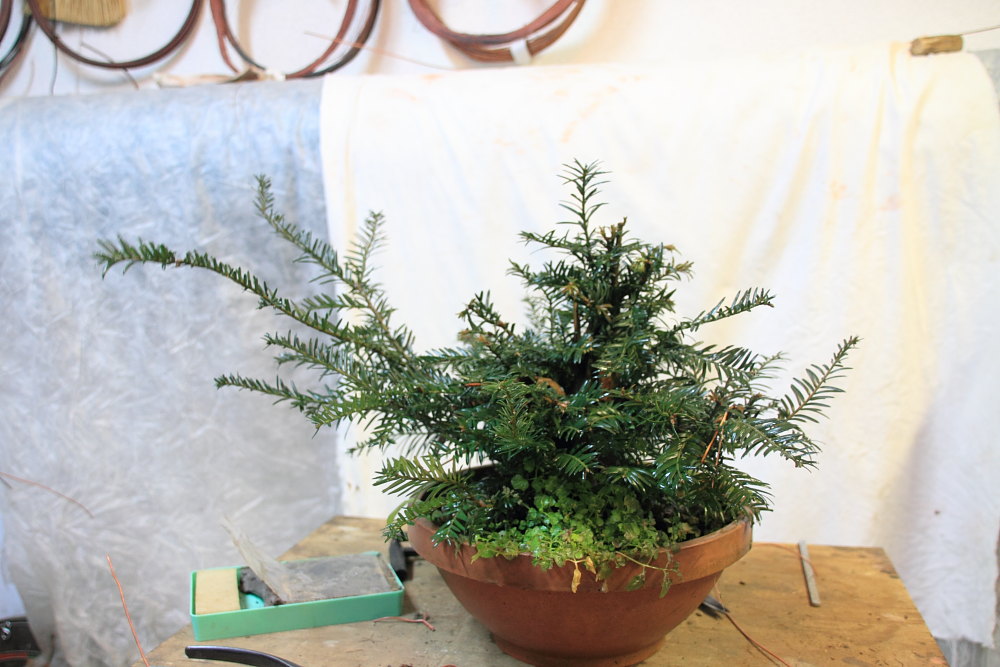
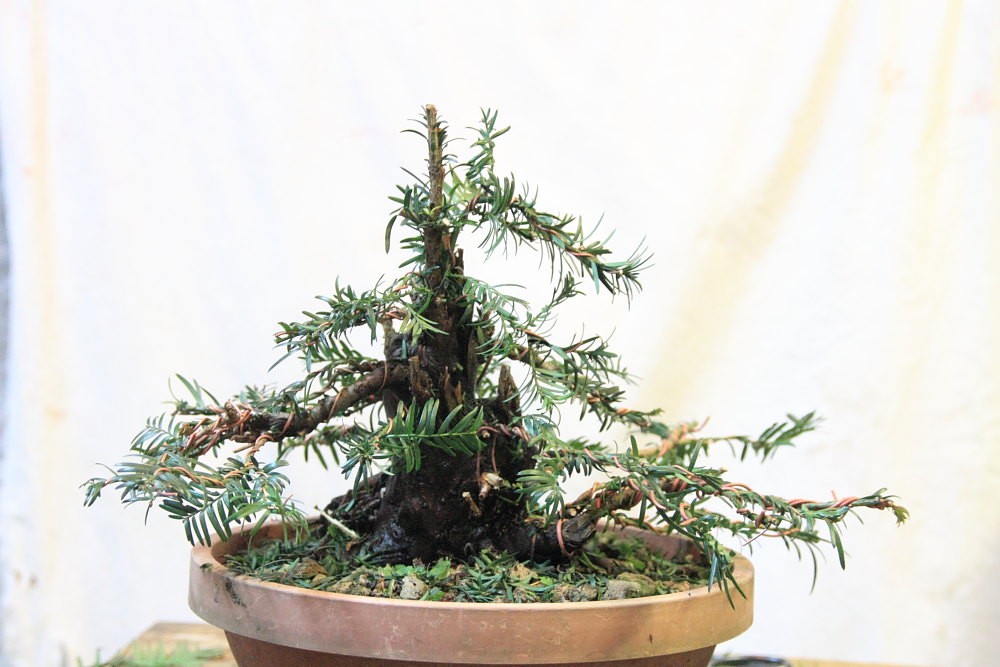
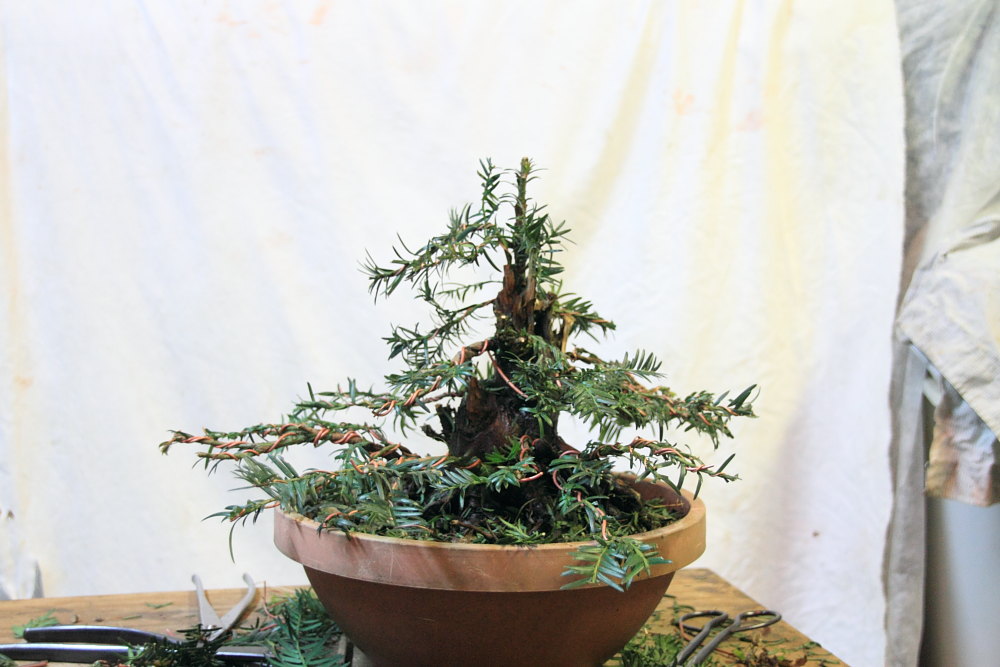
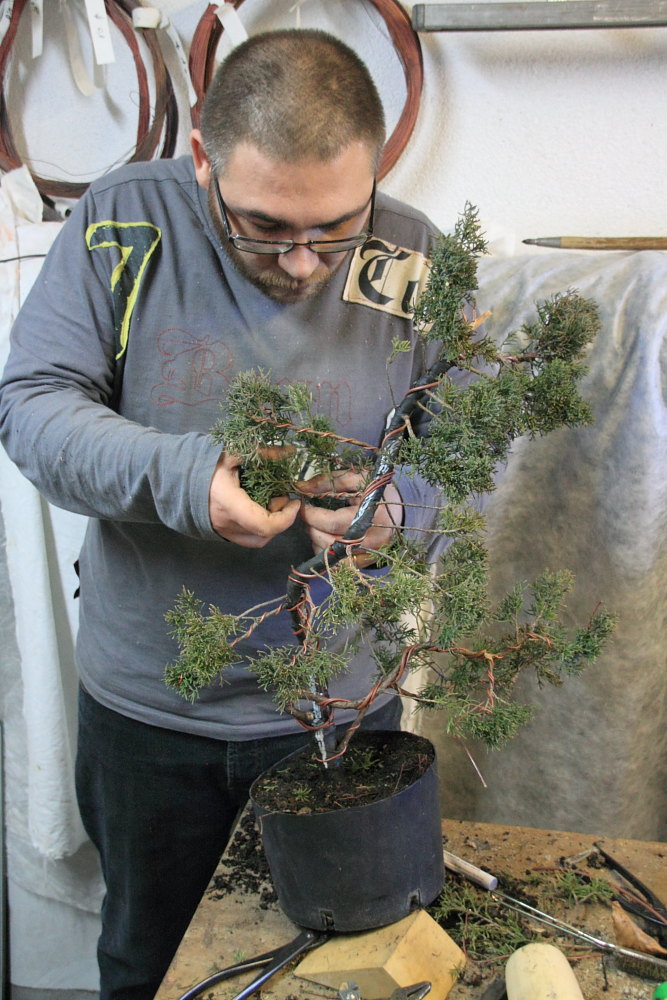
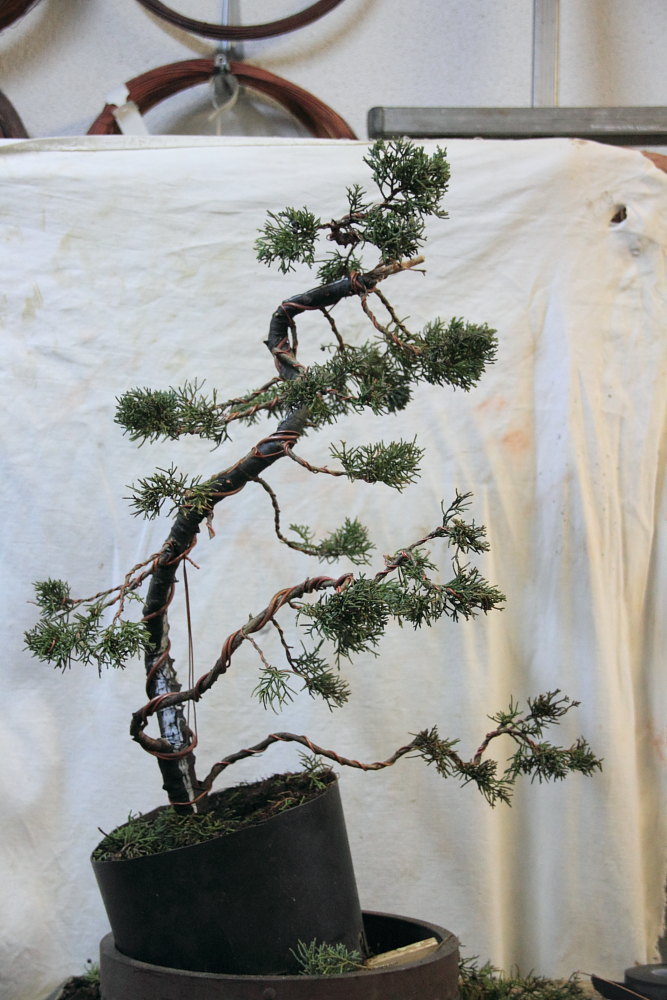
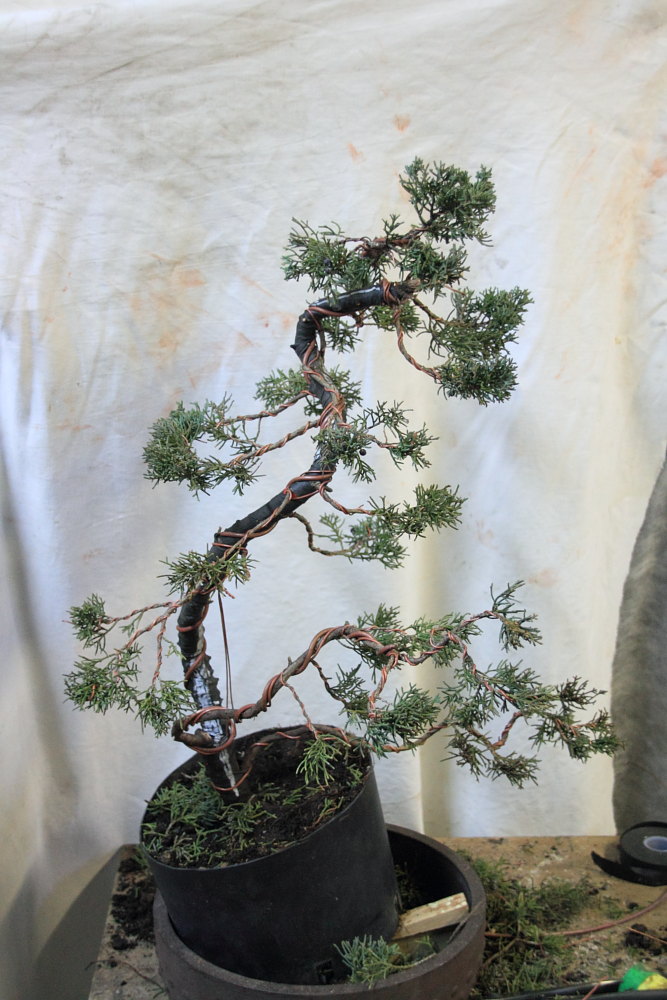
 Si tratta di una preparazione di materiale, i rami non vengono filati
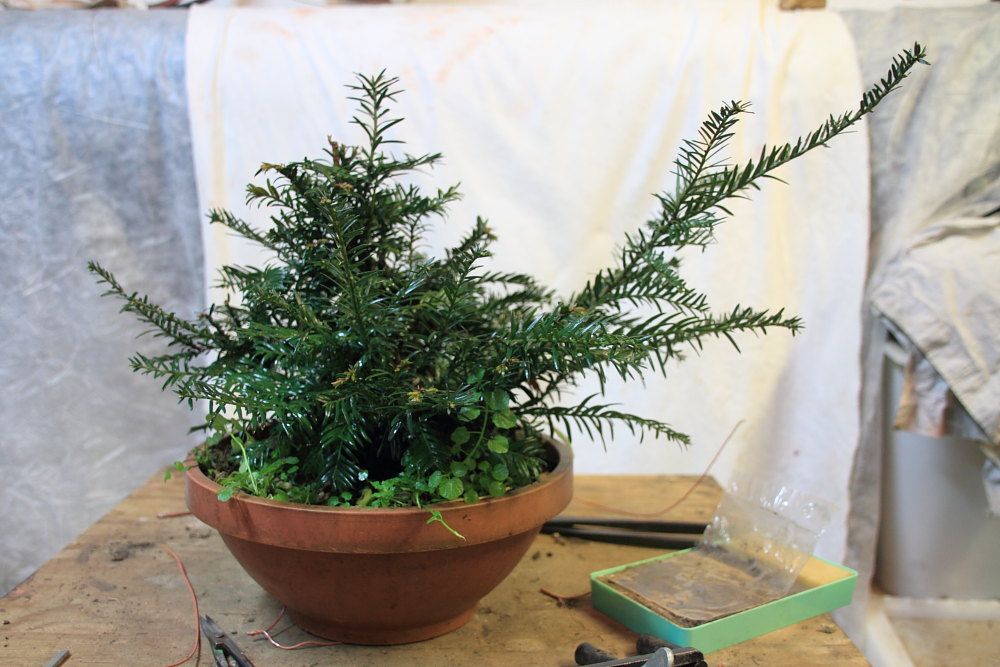 Un materiale preparato per realizzare un shohin di tasso